Ok, wow. So, one thing that I’ve realized is that it is SO MUCH HARDER to consistently blog (even about something that you're super excited about) than I originally anticipated. We are sorry for not updating any sooner. I’ve realized that basically every single post starts with “Okay, so, a lot has happened since the last time we posted” and then proceed to flood you all with tons of information. This is pretty much going to be the same thing, but just thought I would preface first.
SO! If you haven’t, please check out our last post. It shows lots of pics and talks about our tiny house finally going vertical (very exciting!). Today, there are several things that I want to fill you guys in on. Lots of pictures to help describe all the technical jargon and then of course, extra progress pictures at the end of the post. Here goes!
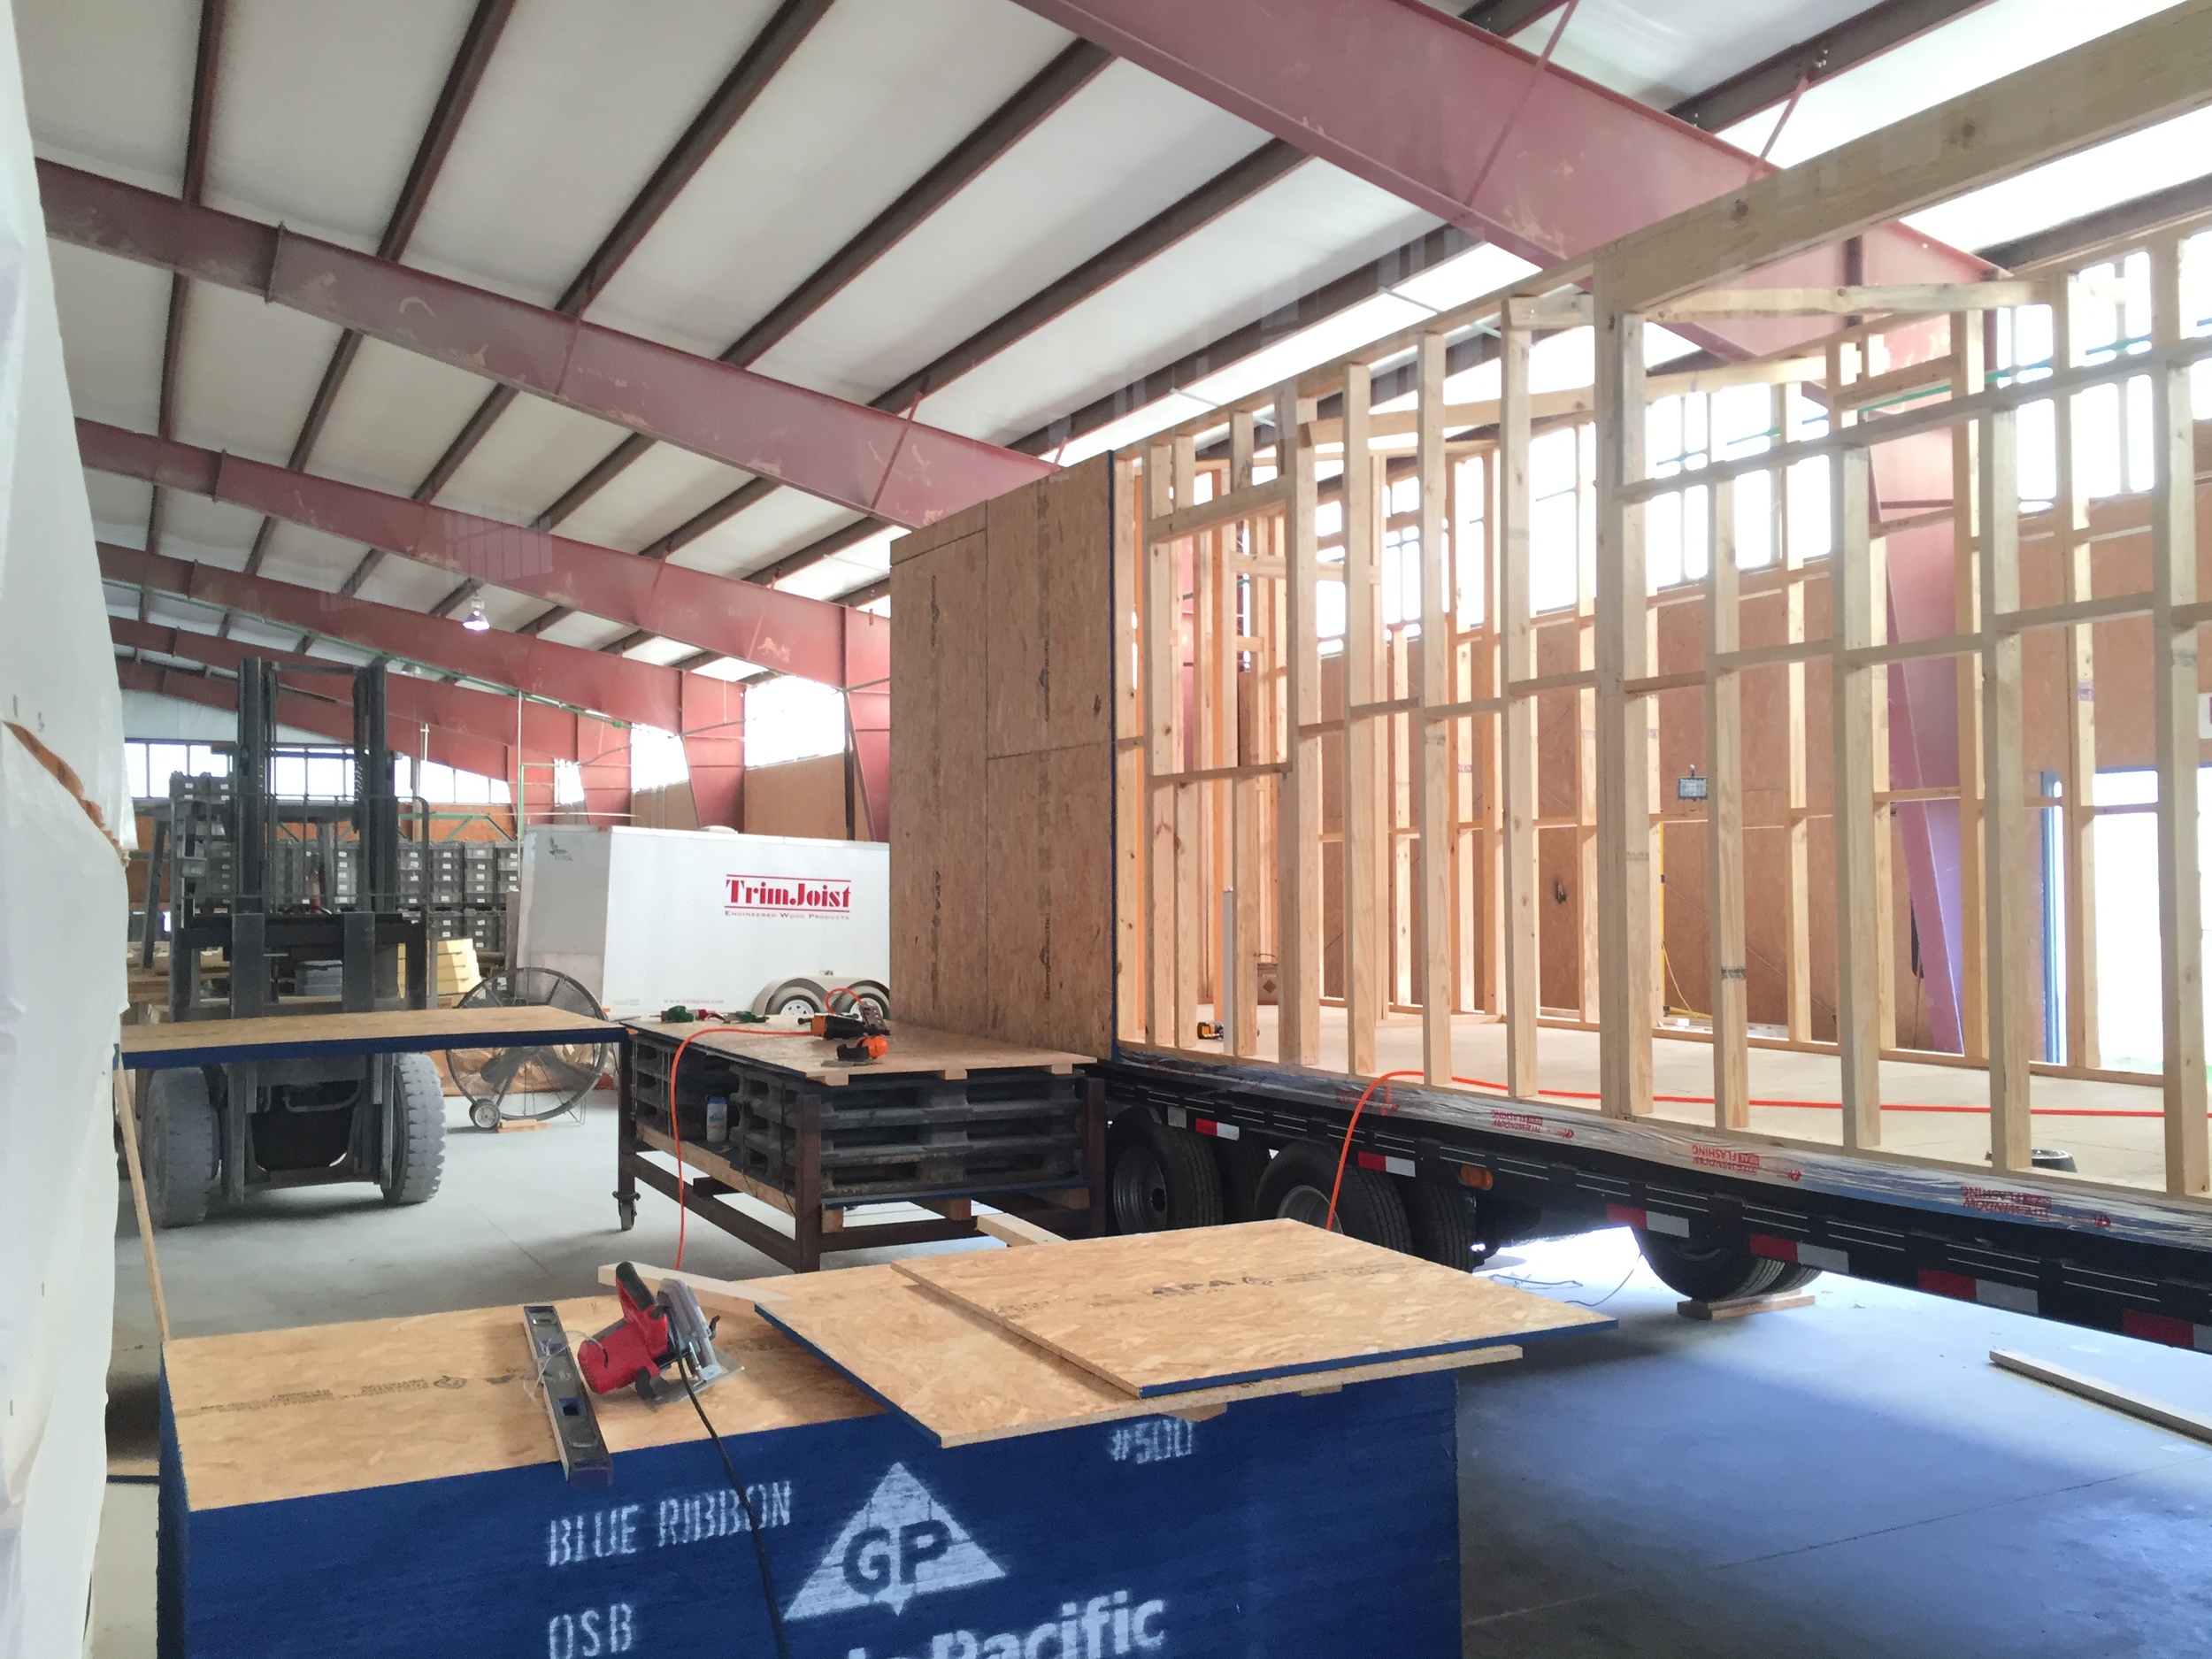
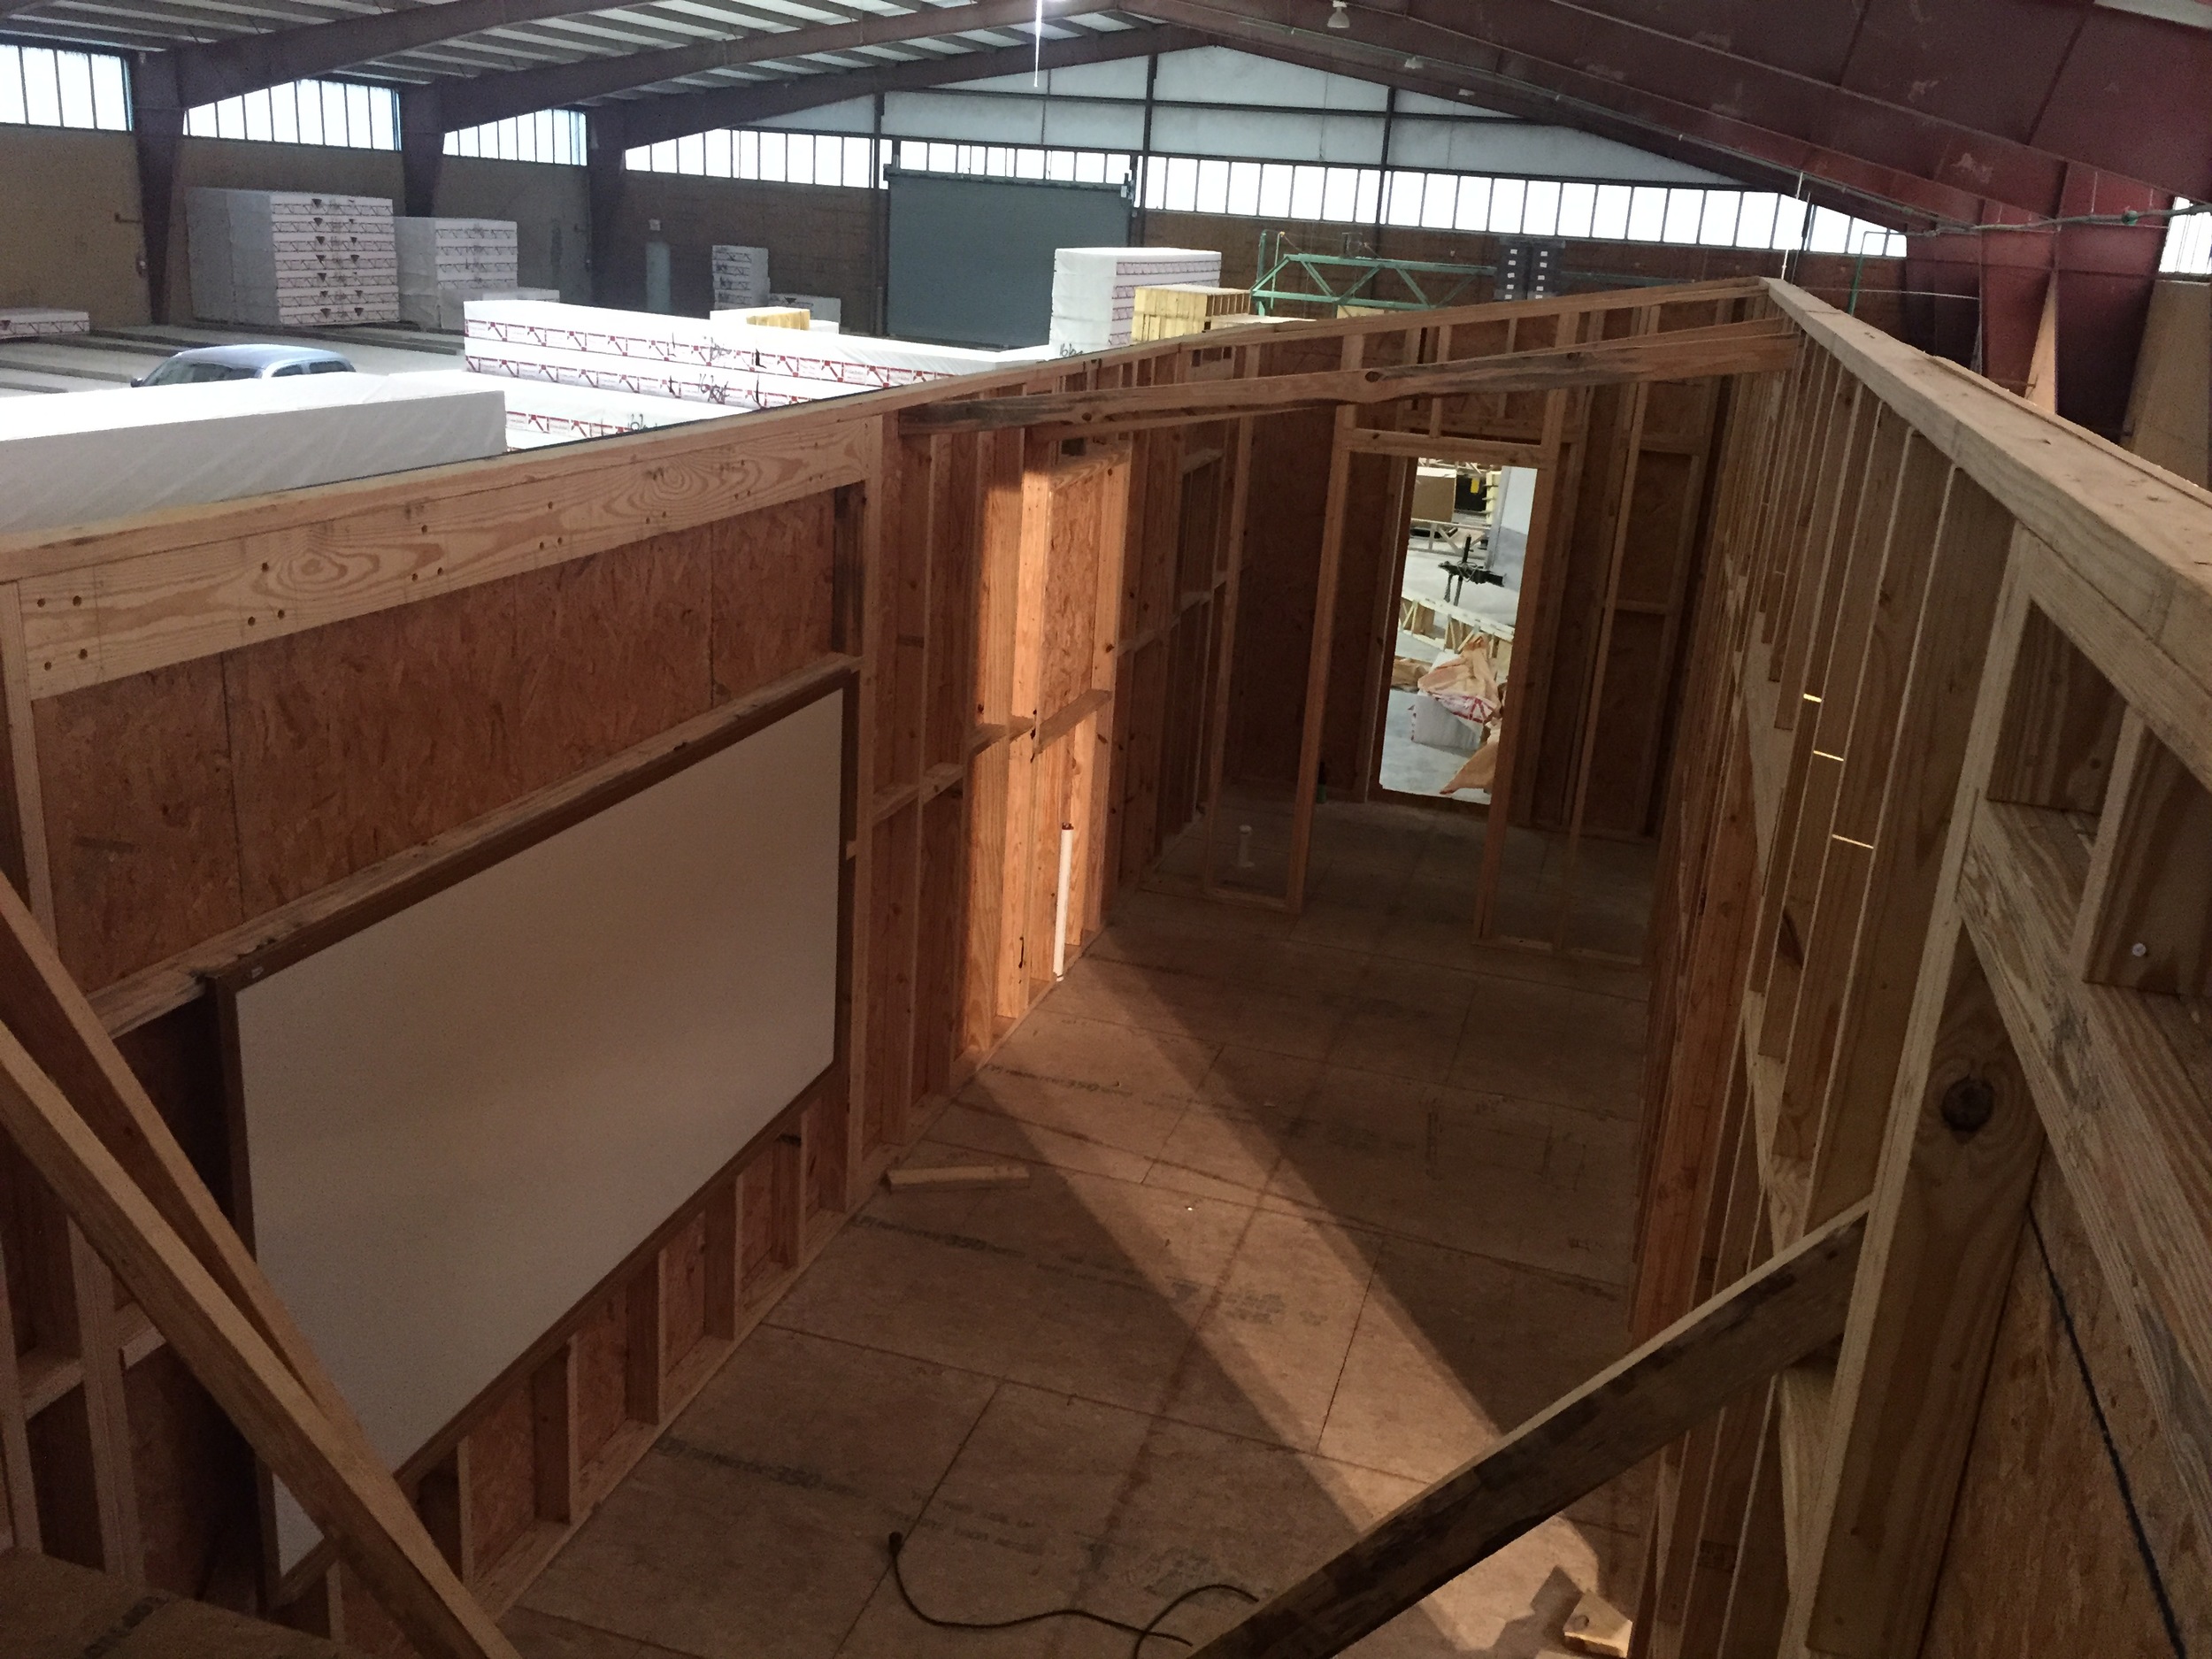
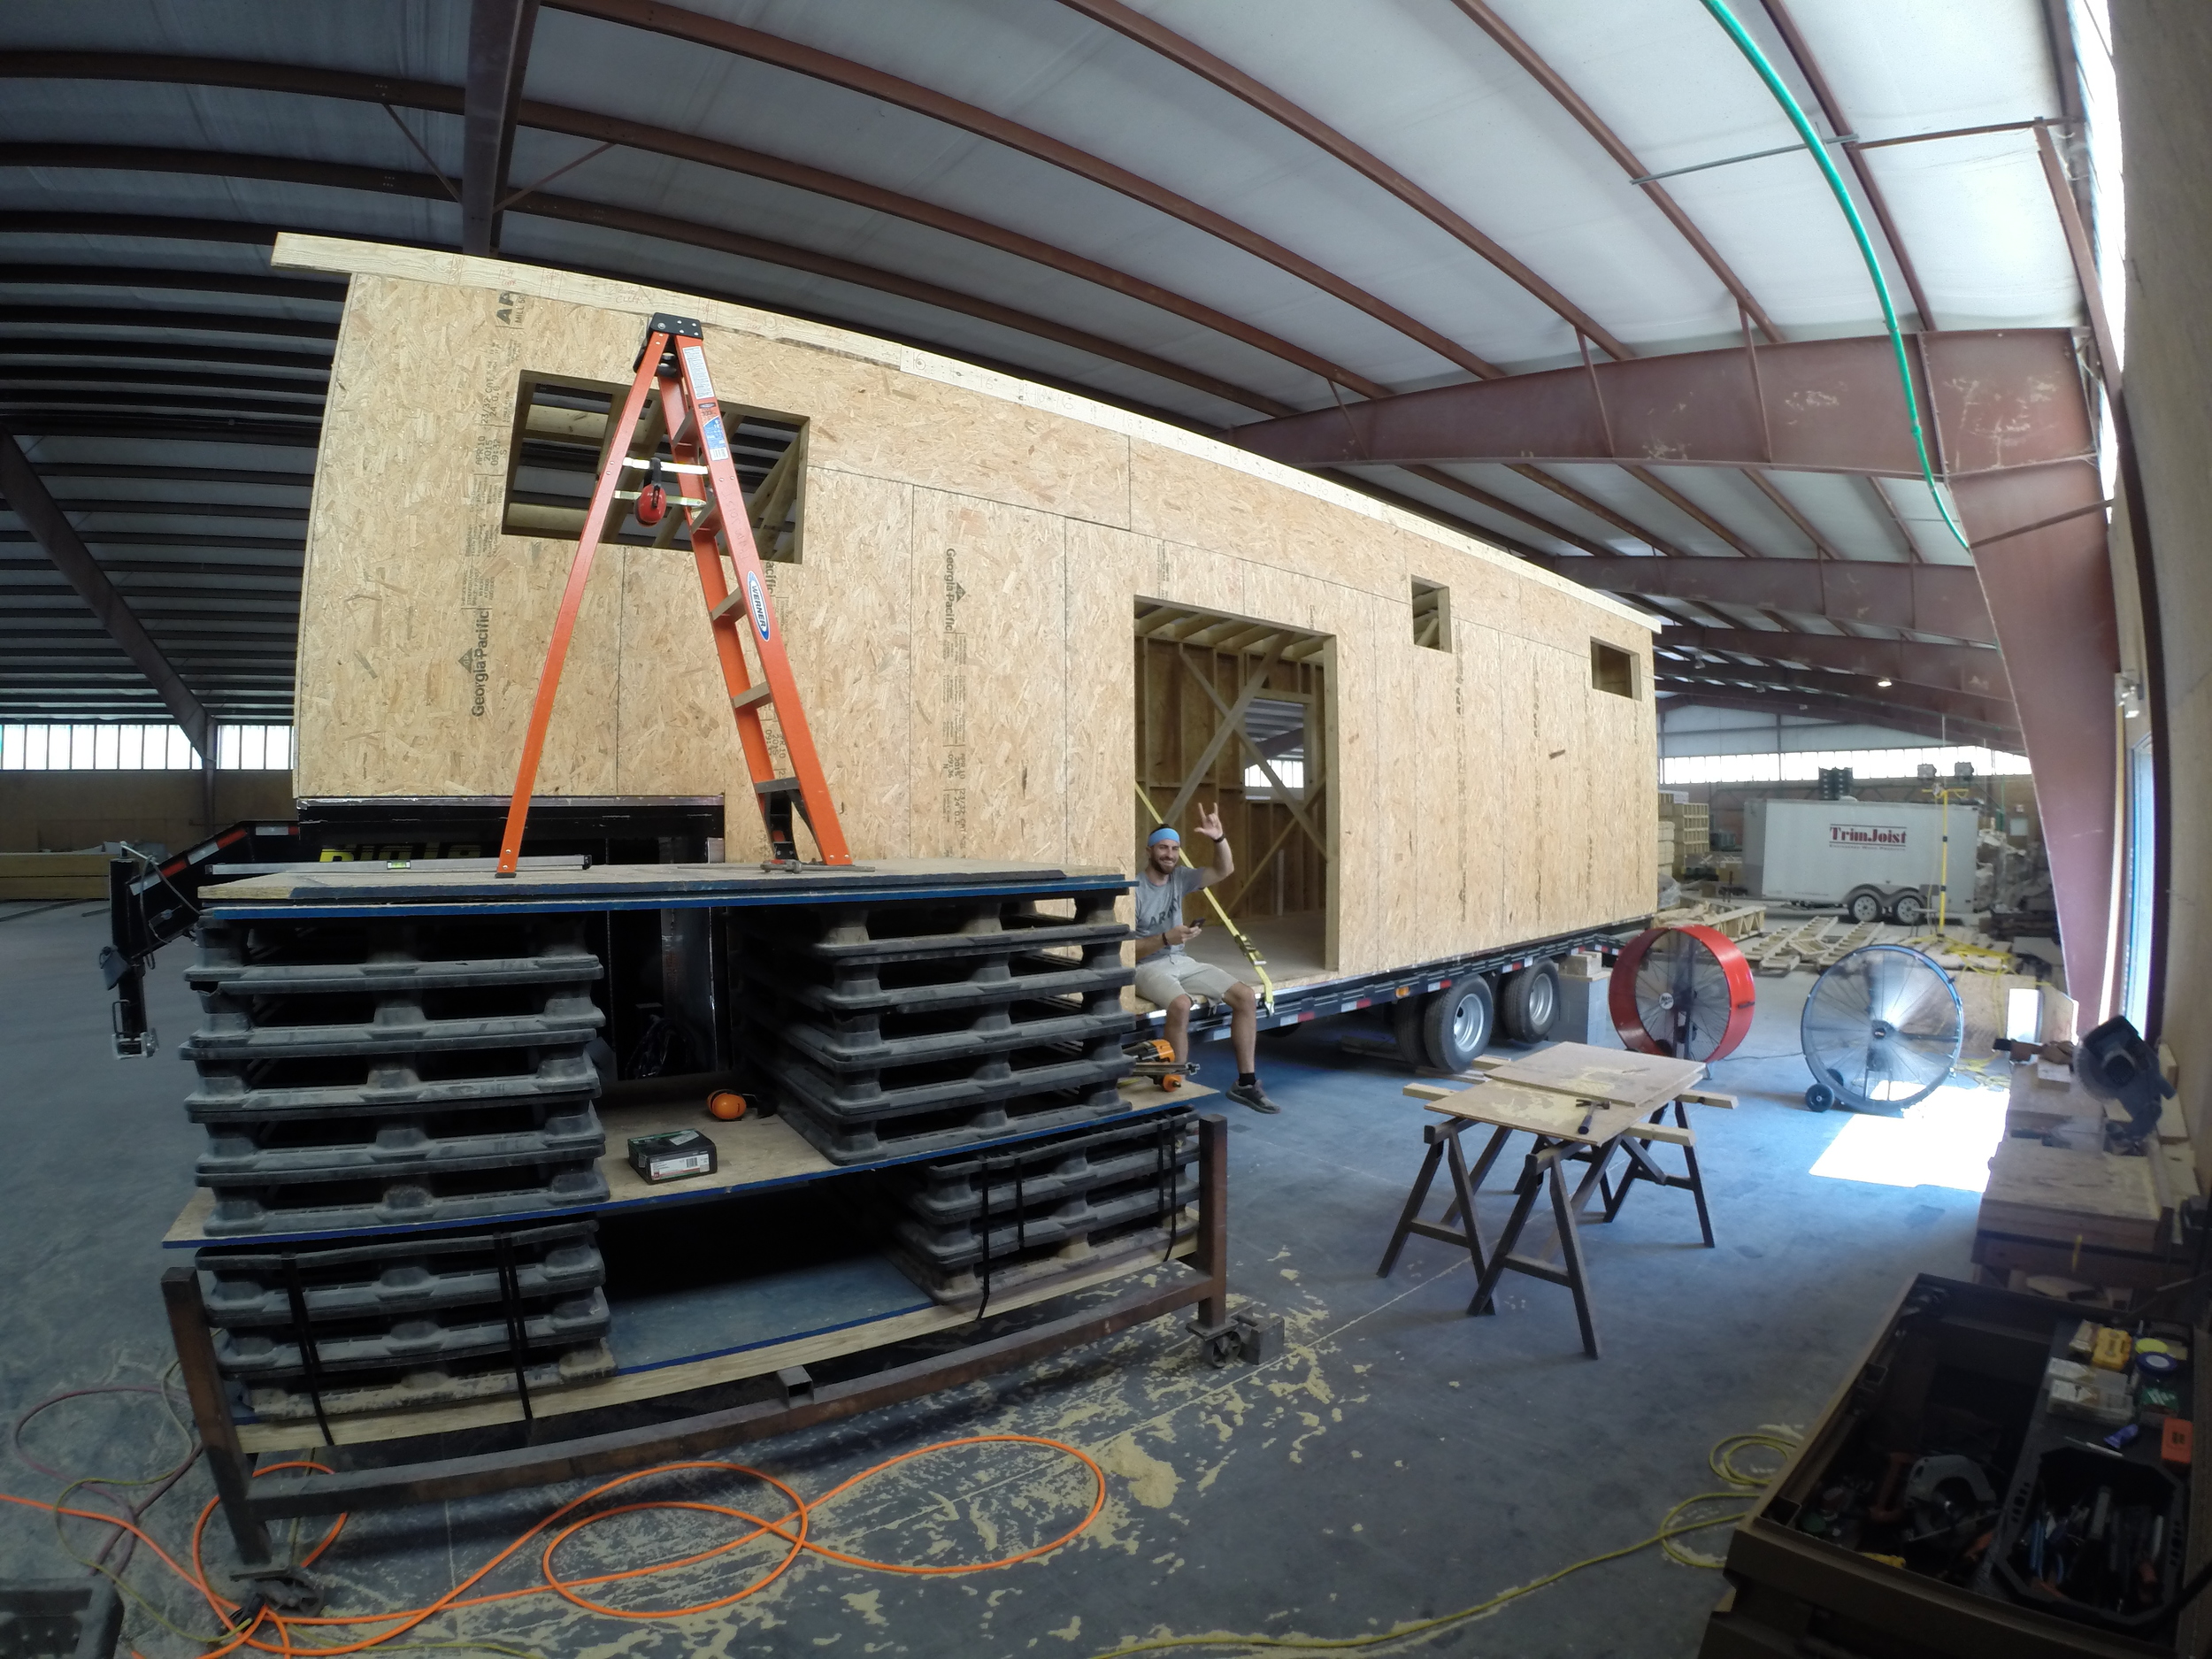
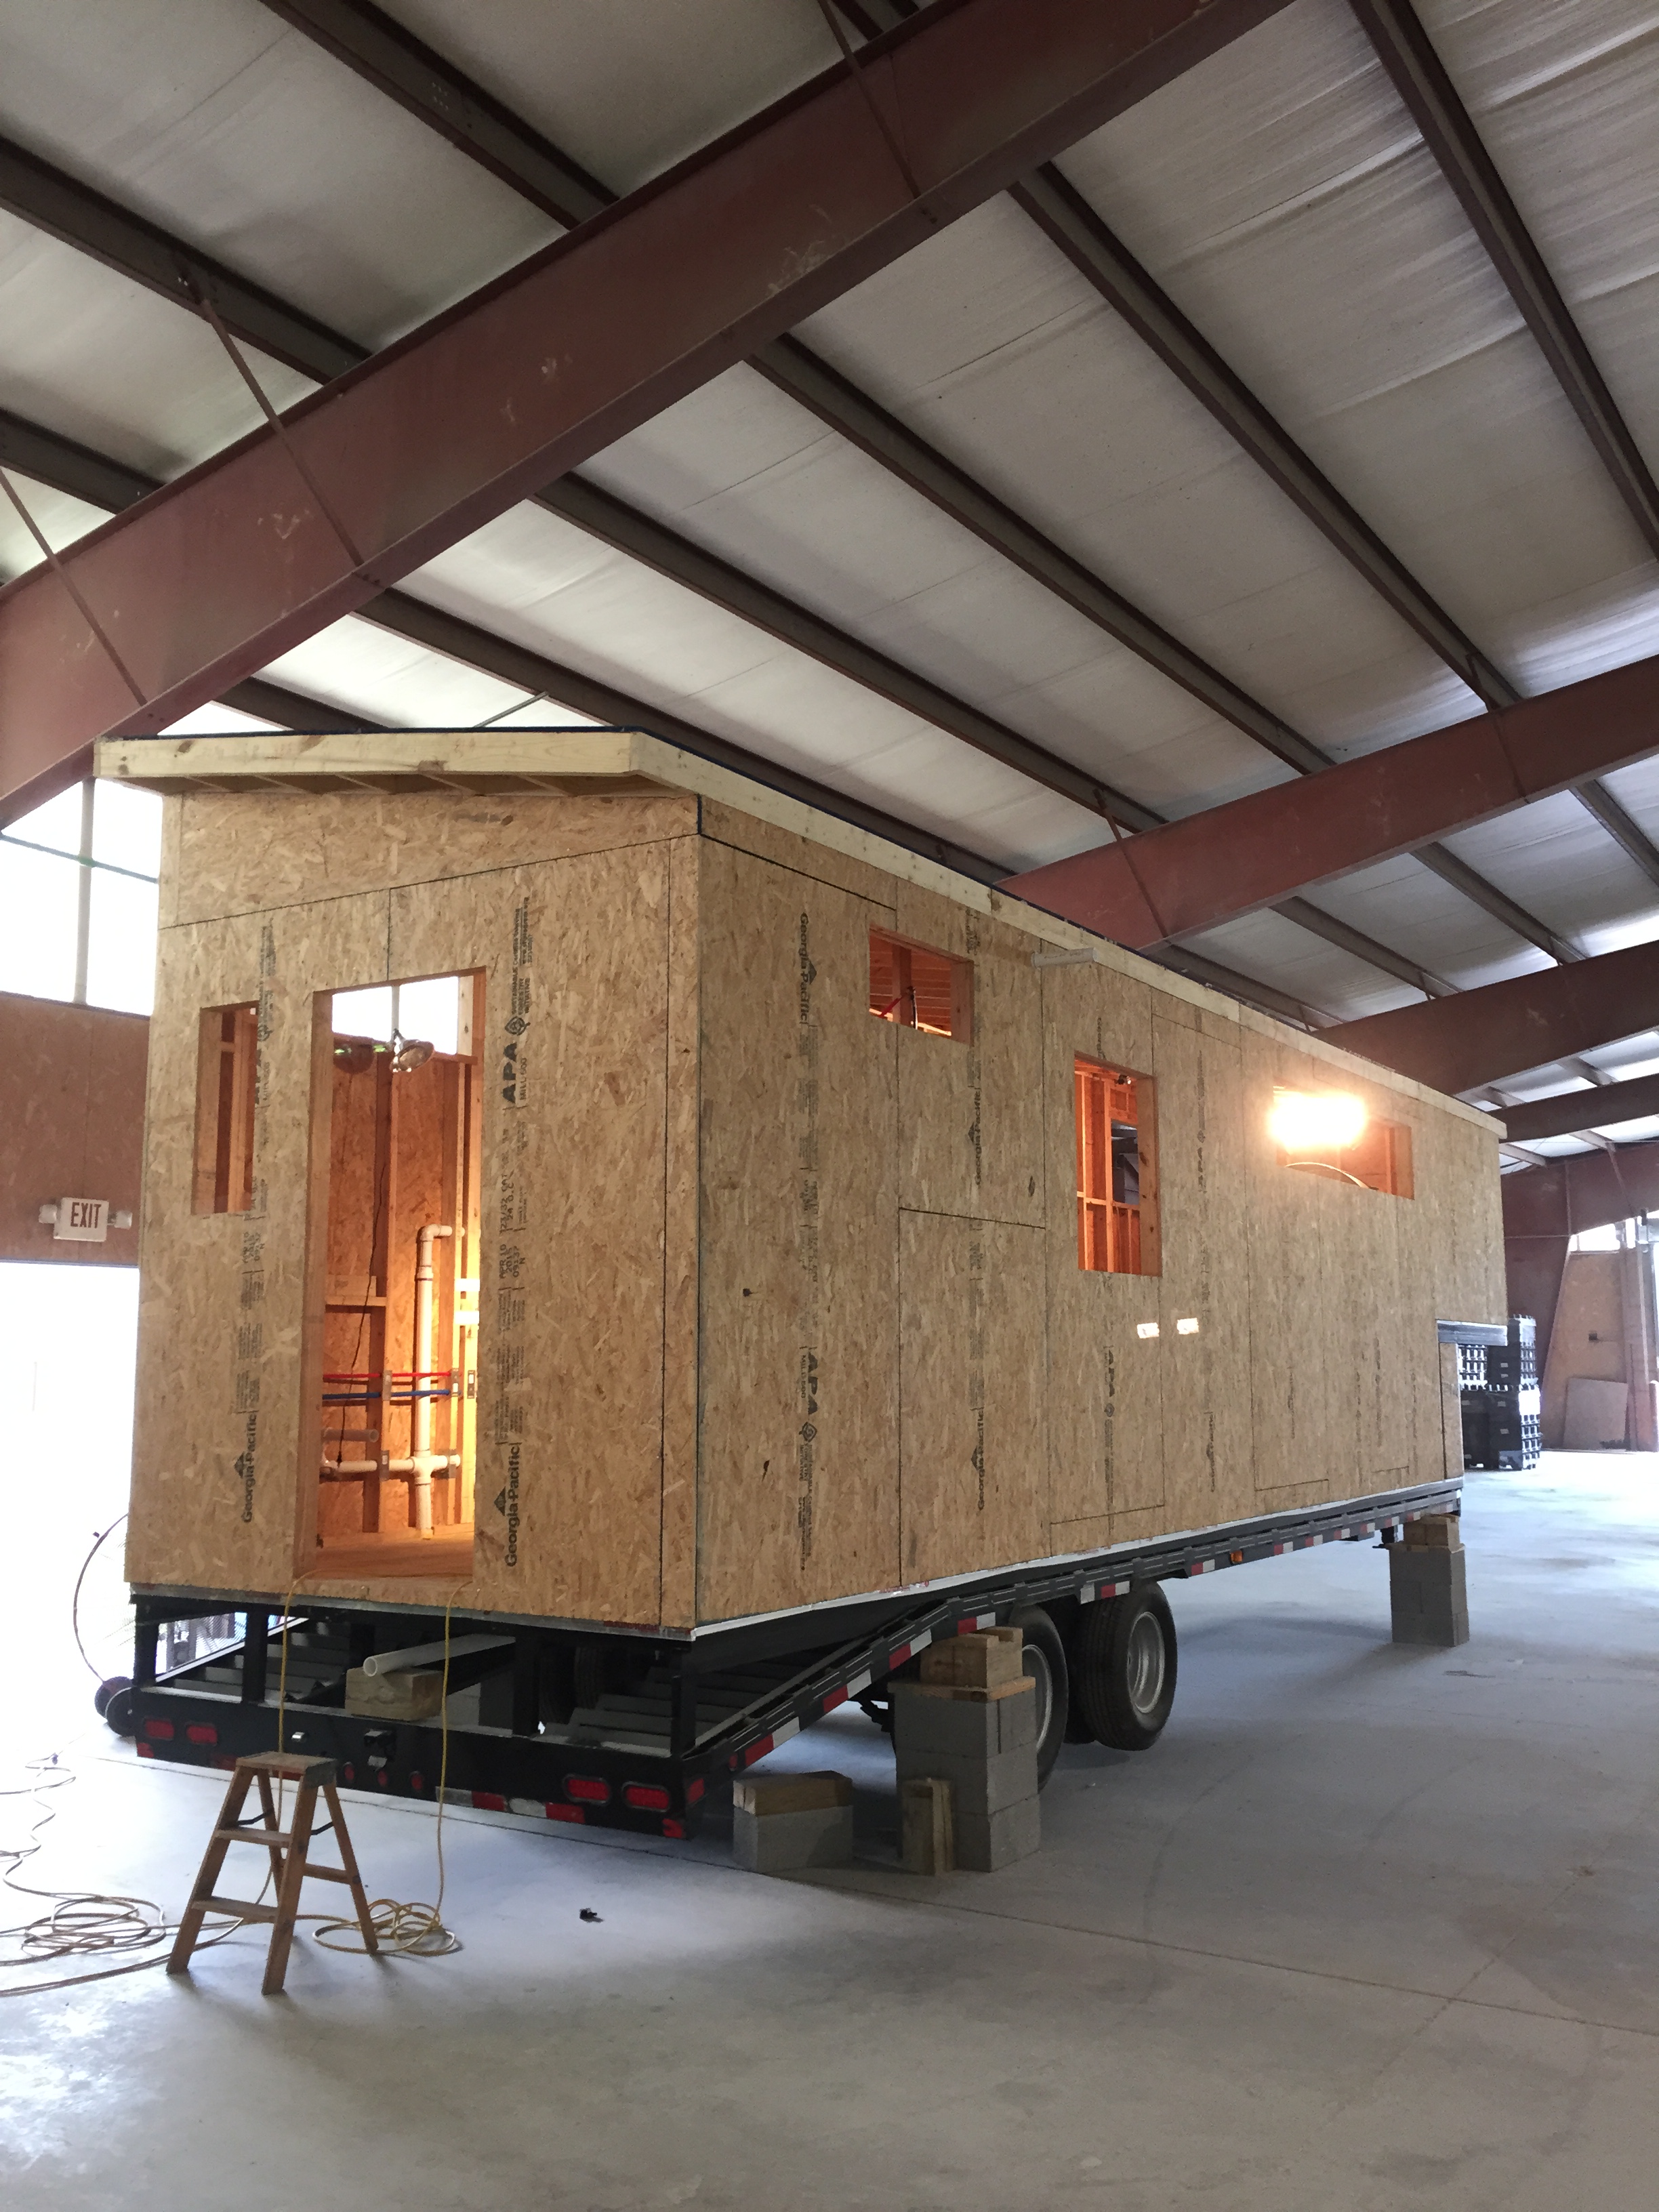
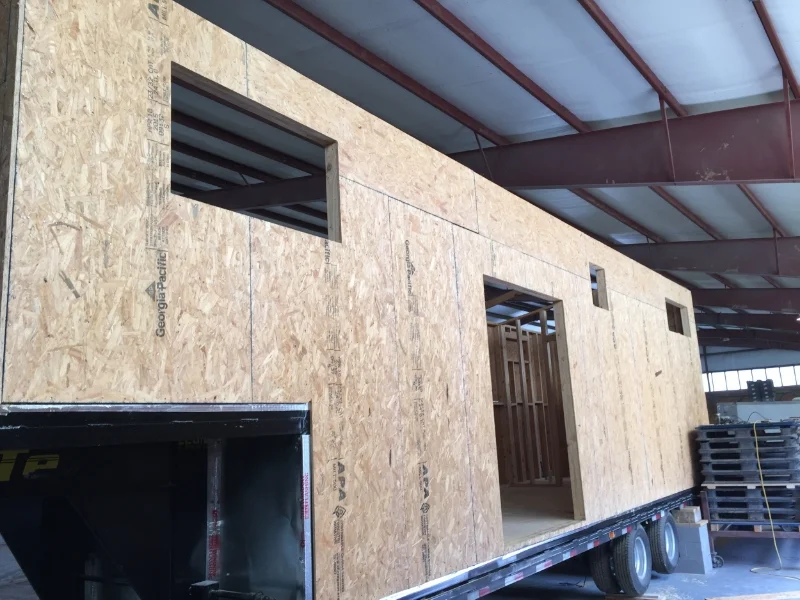
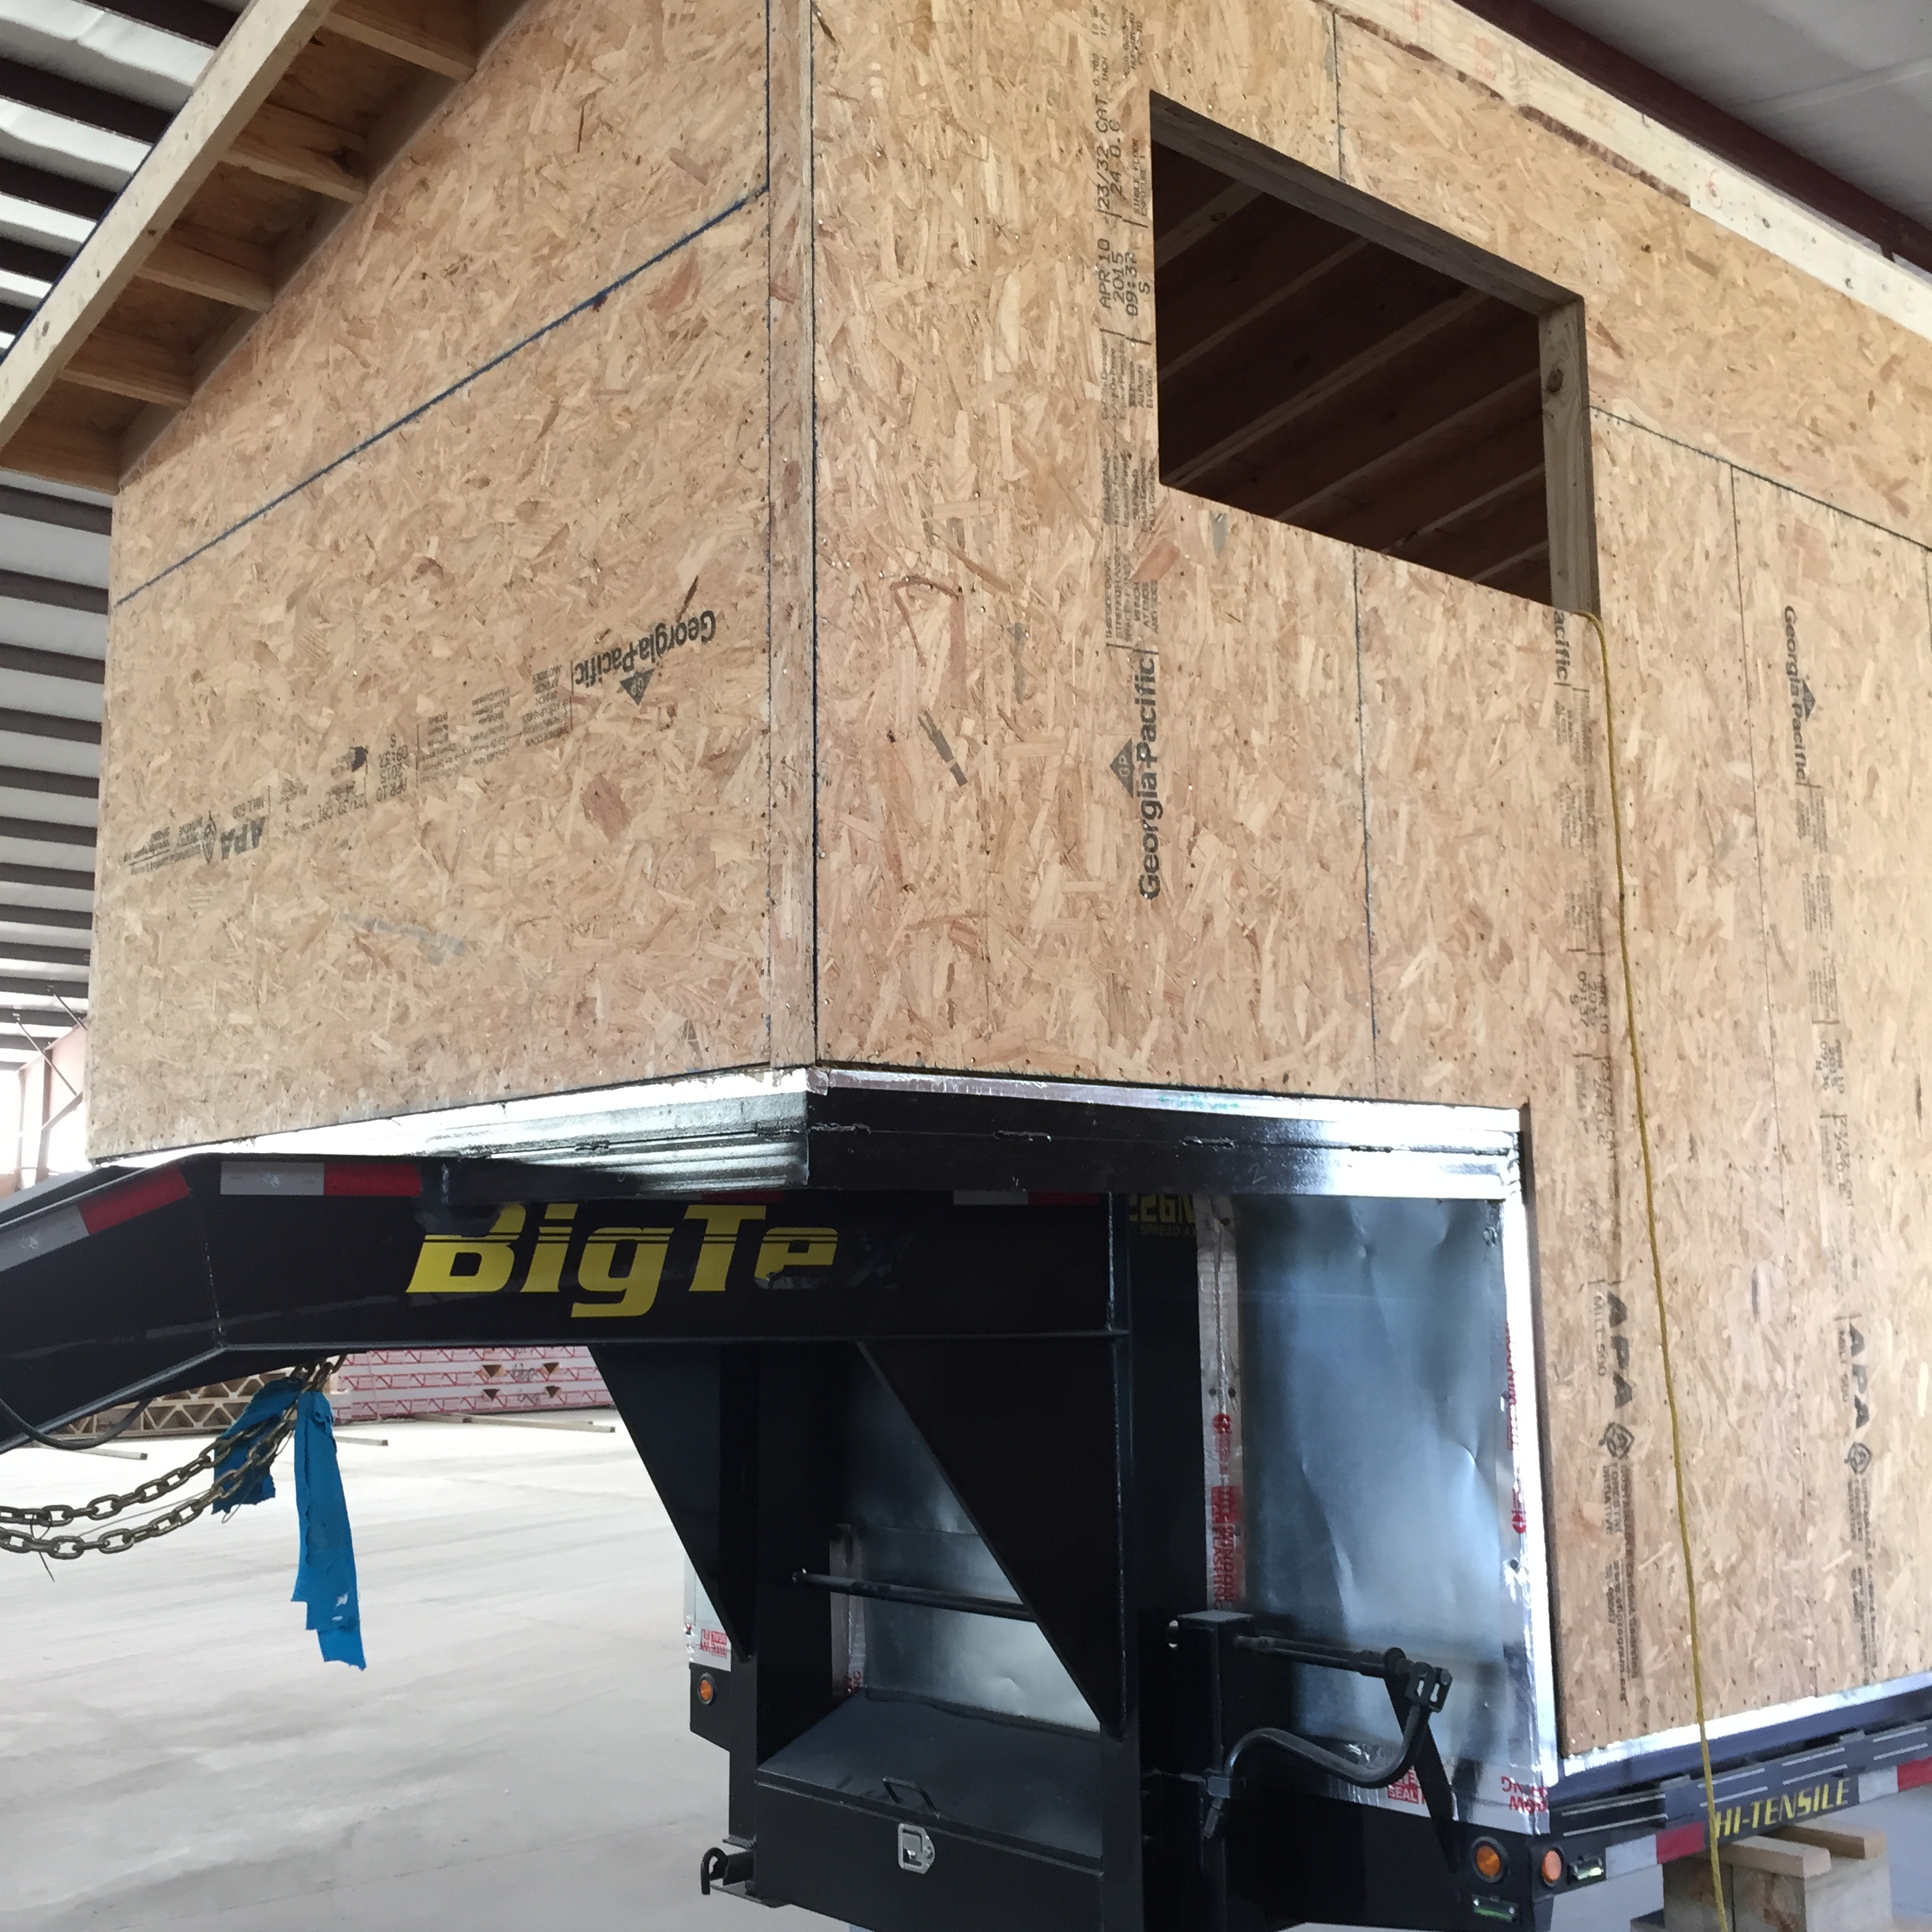
1. Exterior Sheathing Install – This came right after we raised all of the vertical walls into place. We actually ended using a rather thick OSB sheathing (22/32” thick) because this was actually material that is readily available in the facility we’re building the house in.

To preface, Brian built this absolutely ridiculous baker’s scaffold to install all of this stuff. The point of the baker’s scaffold was to get Brian high enough off of the ground to lift these sheets into place. Yes, he lifted them by himself, so this system came in handy… although very sketchy.

We used construction adhesive and a caulk gun to adhere the sheathing to the exterior studs. We ran construction adhesive on every single stud before placing a sheet. After raising the sheet into place (vertical orientation), we held it there and drove 8 penny nails all around the exterior of the sheet with a nail gun (every 6”). I want to take this time to make a quick note. OSB sheets are 4’x8’. Because we were running these vertically and our house is taller than 8’ on both sides, we had to have shorter slices of OSB to complete the height of the wall. To refrain from having the seam run at the same places all around the house, we staggered these pieces during install. For example, if the wall were 9’ tall, we placed a full 8’ sheet and then a 1’ piece at the top. Right next to that, we would run the 1’ piece at the bottom and install the 8’ above that [see picture below!]

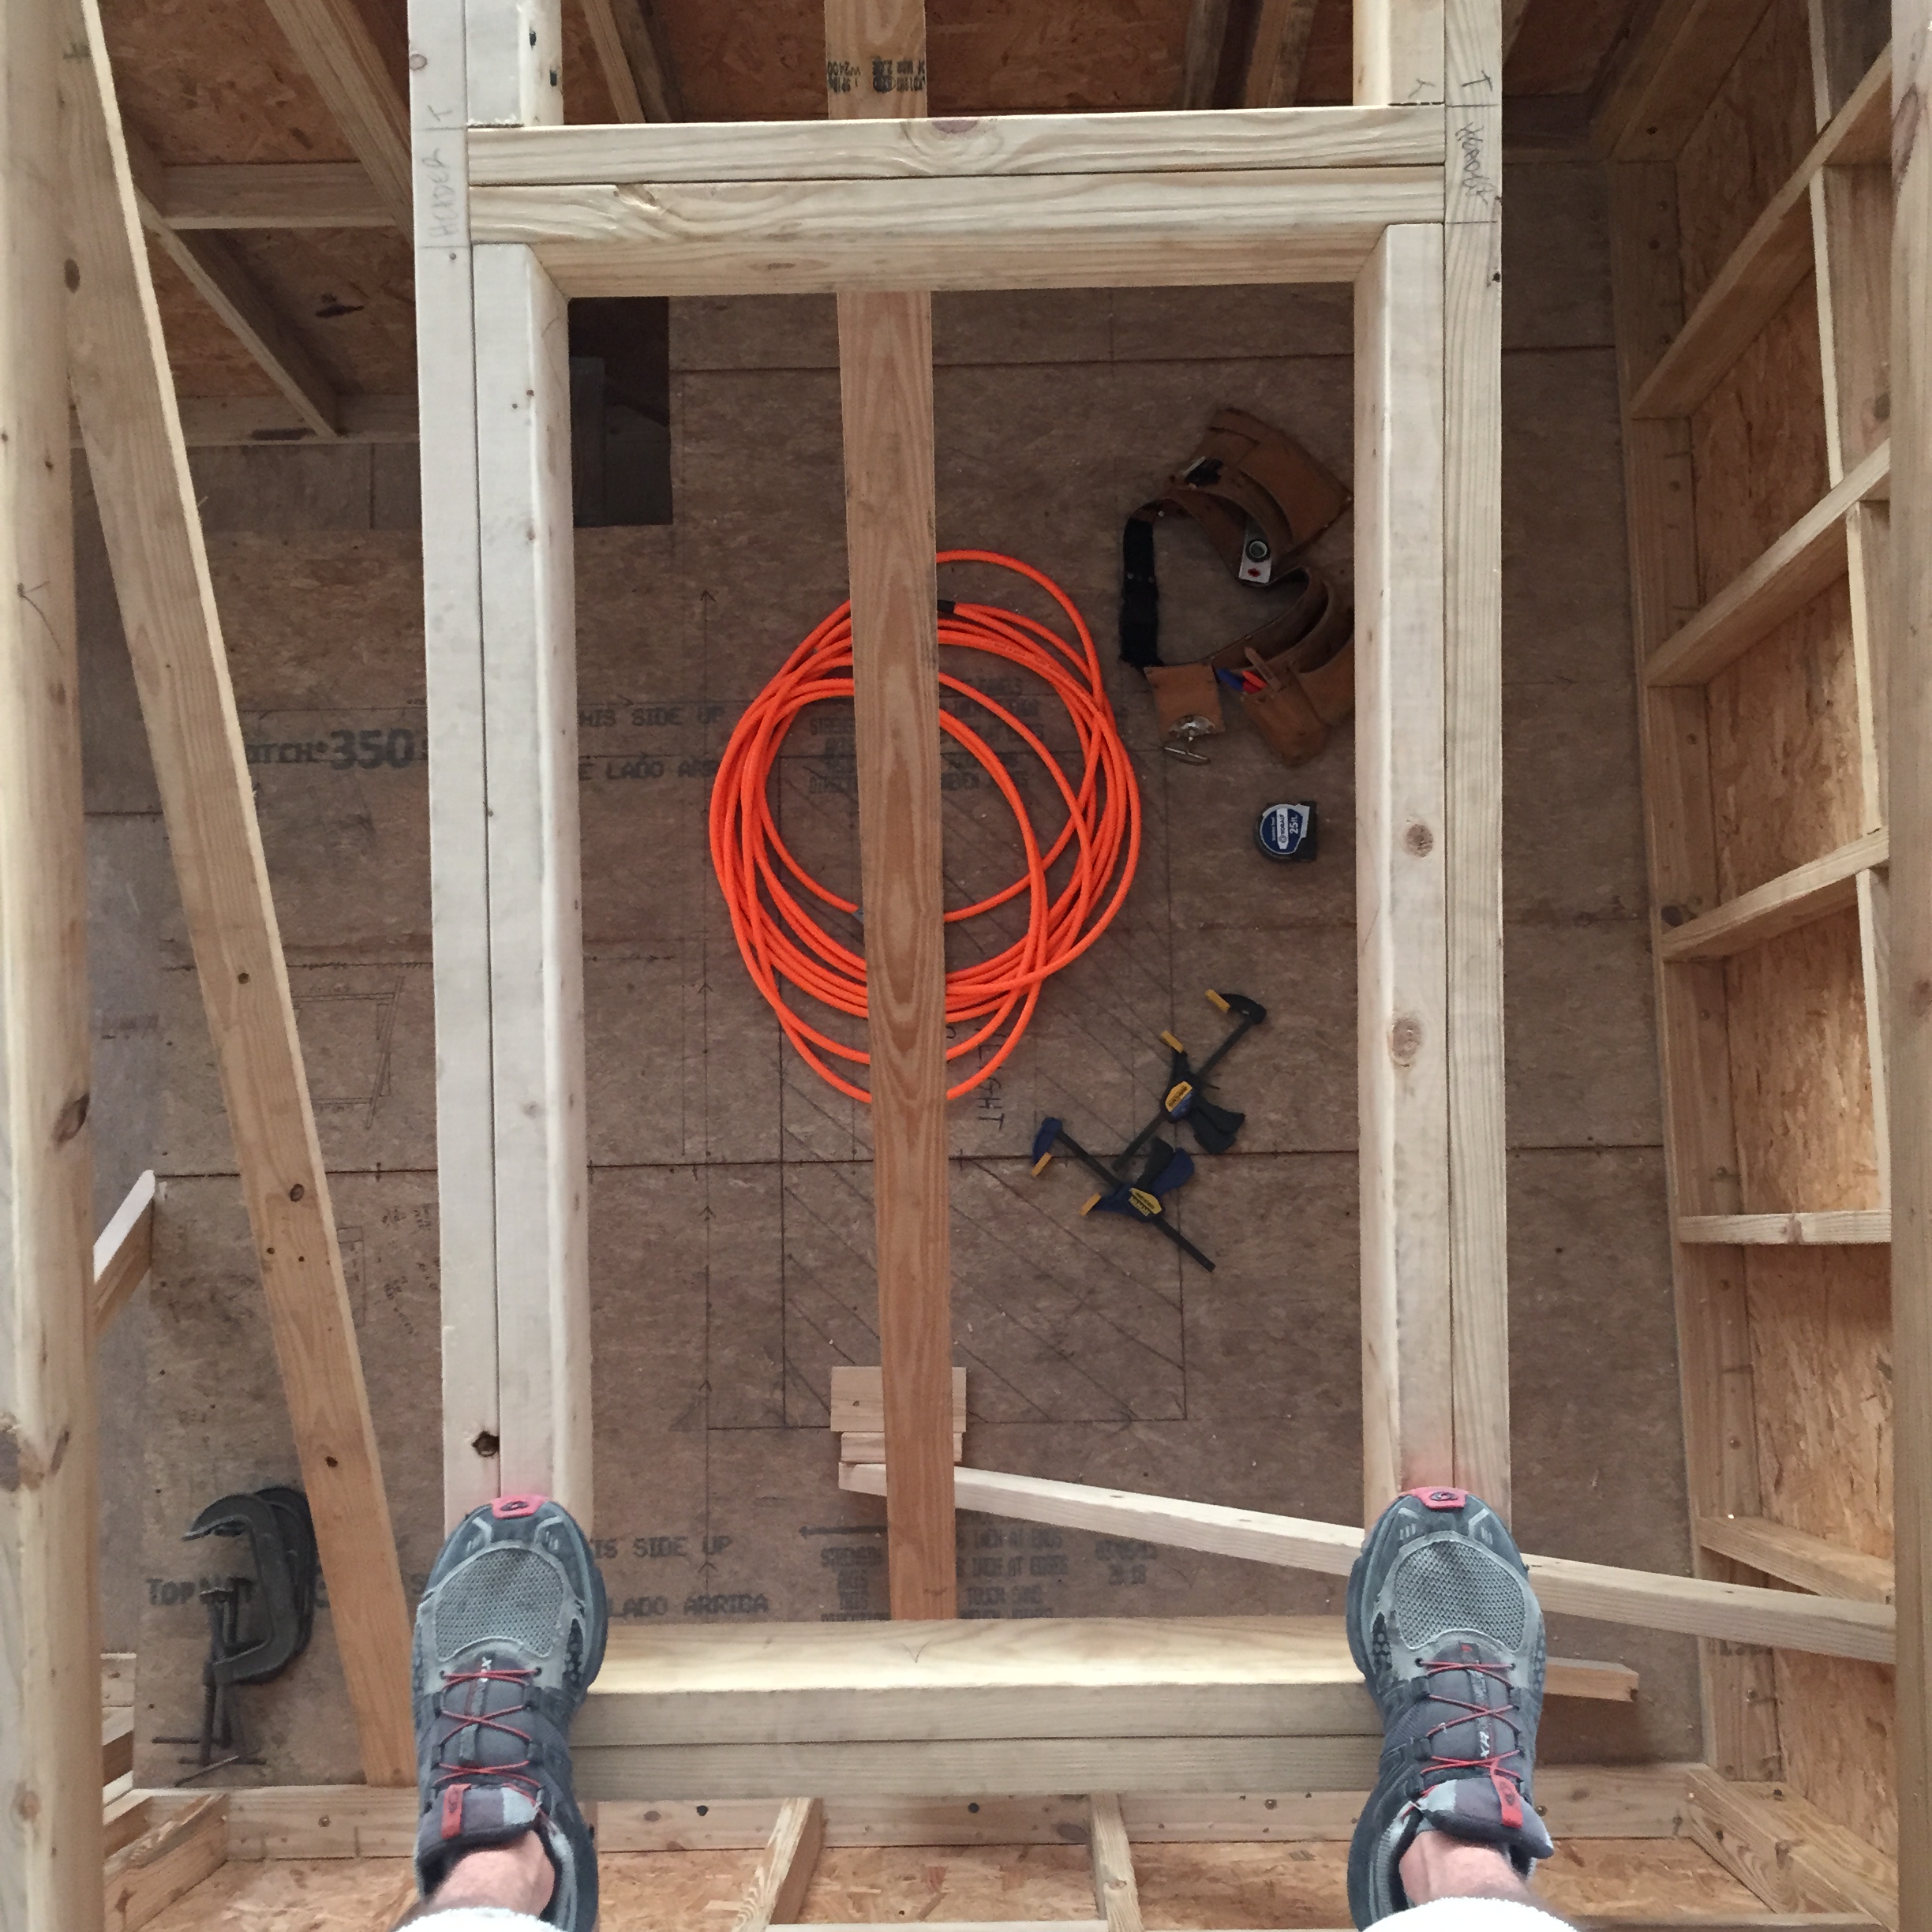
Throughout install, we accounted for a 1/8” gap between each sheet to accommodate any swelling of the material. When installing, we ran the sheets of OSB over all of the openings. When the house was almost completely covered (I say completely because we left a small opening to get into the inside of the house), we then drilled a hole in the top right corner (as a pilot hole) of each opening.. door, window, etc. Following the drilling of this hole, we went back out to the exterior of the house and, using a ½”’ flush cut router bit, we cut each opening. This tool saved us countless hours and gave it a really clean cut. Highly suggest investing in a router!

In hind sight, we should have waited to sheath the house AFTER the roof rafters were installed.
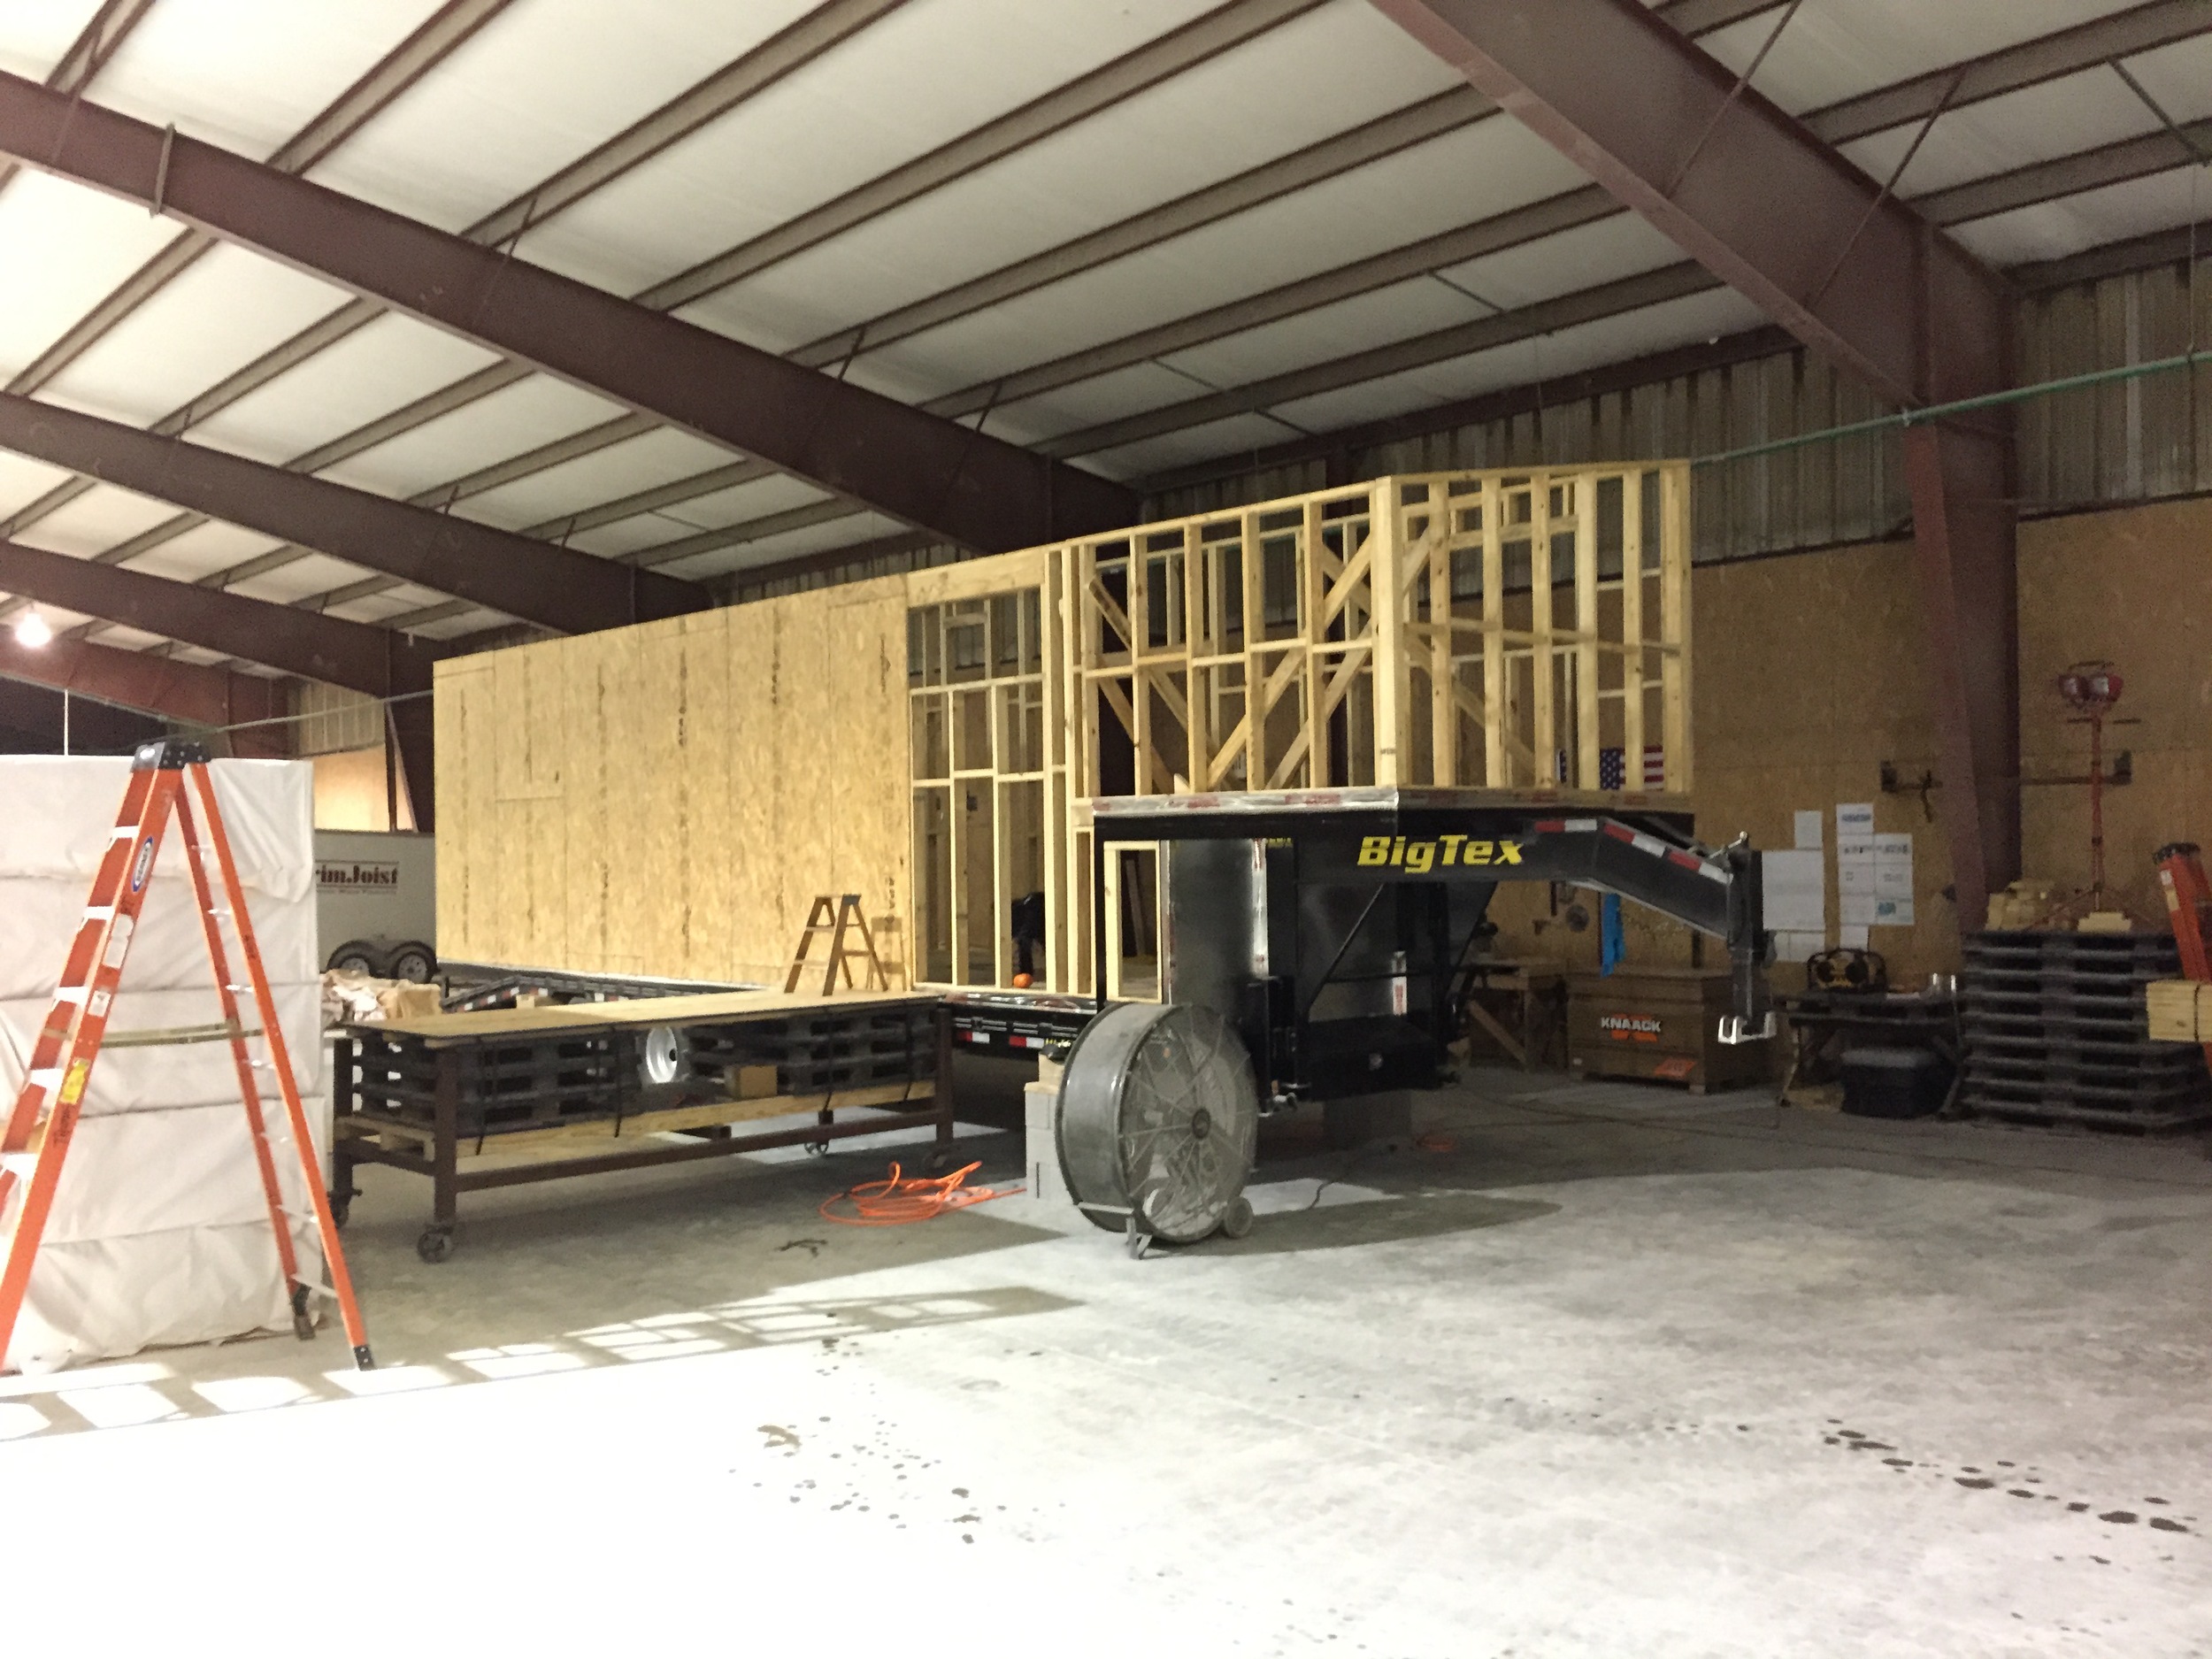
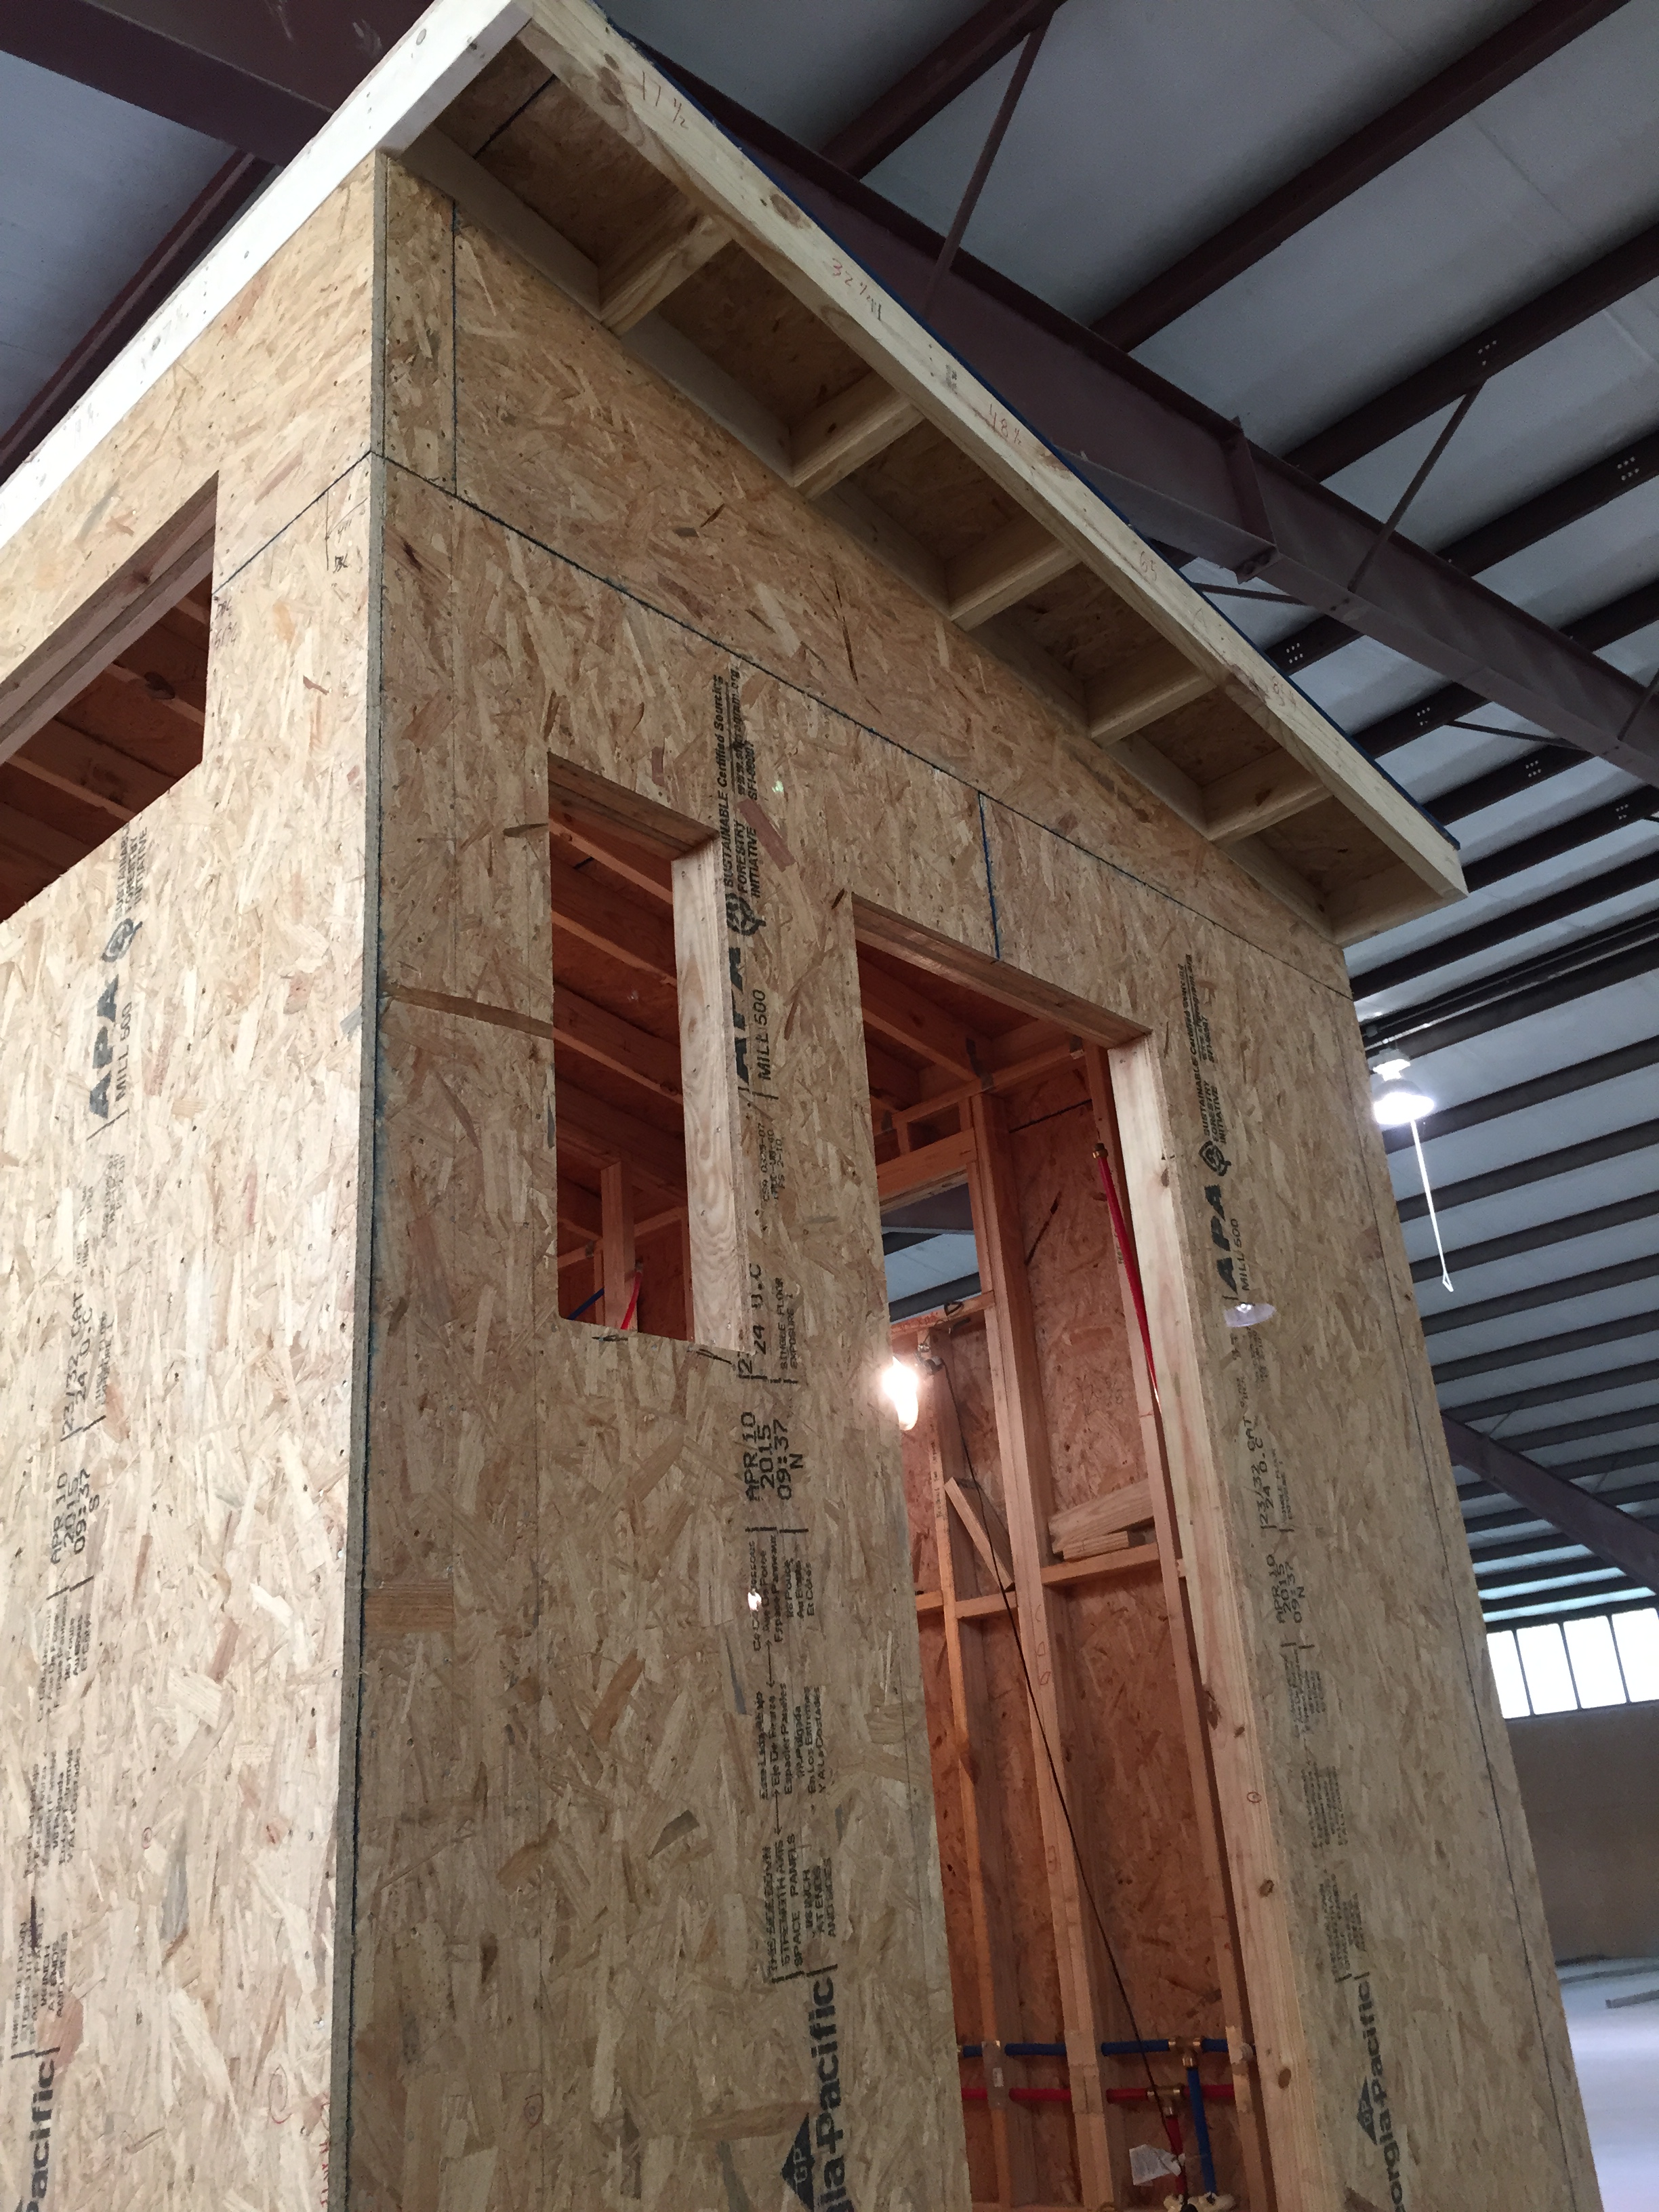
2. Rafters Install – Here are some statistics about our roof install:
- Our roof pitch is 2:12
- The high side sits at 9’7” off of the subfloor decking
- The low side sit at 8’3” off of the subfloor decking
- There are hurricane clips EVERYWHERE (a painful experience.)
To stay within the DOT (Department of Transportation) 8’6” width, we weren’t able to add any overhang to the long sides of our trailer. We did, however, add 1’ of overhand on each of the short sides. On the long side, we used a 2x6 “rim/fascia” board to run the length of the long sides (sitting vertically on the top plate).

After several attempts, we finally got a correct rafter template. We then traced this template out on 30 qty 2x6’s. These 2x6’s would then become our rafters (16” O.C.) after they were cut to the template (using a variation of a jig saw and miter saw). We then installed the rafters by shooting 3 nails through the “rim/fascia” board into the end of each rafter. After this, we the toenailed each rafter into the top plate.

On the short ends where the 1’ overhangs are, we cut and installed outlookers to create the overhang. We are already getting very detailed here, so feel free to look these up for more information! If you’re going to have an overhang though, you must have outlookers.
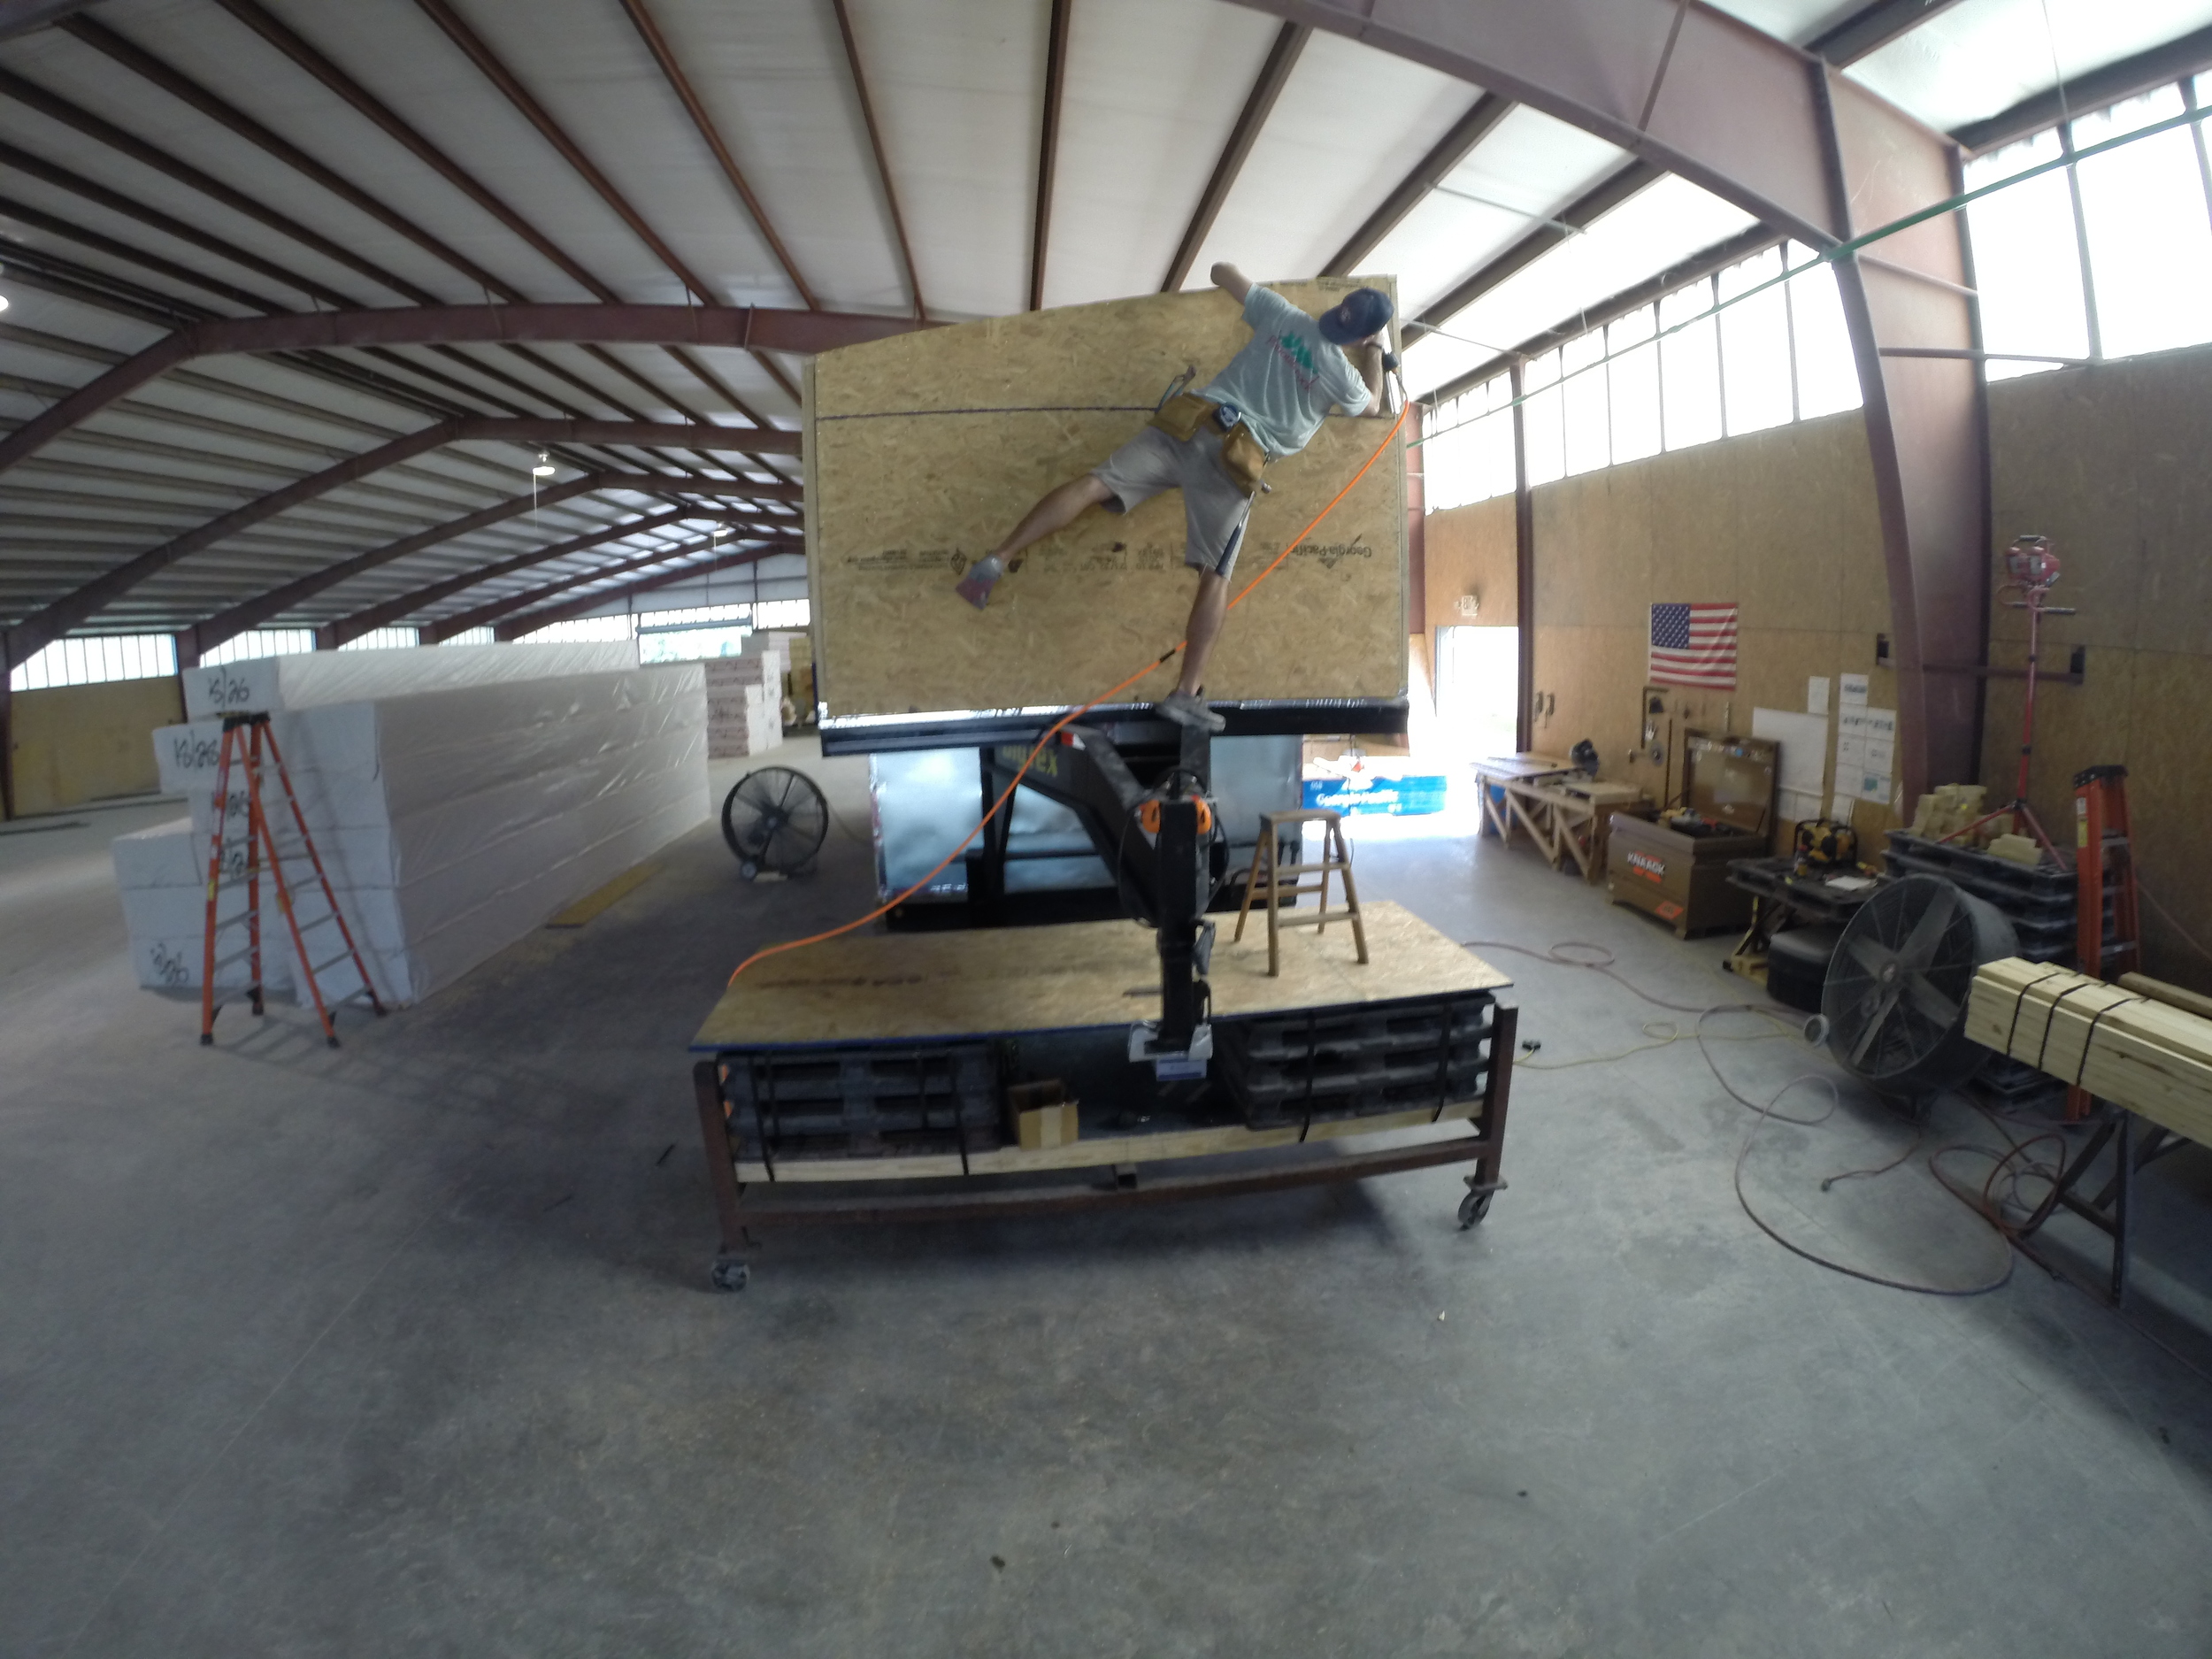
Finally, WE ADDED 238490-32890-18487789 HURRICANE CLIPS TO EACH. SIDE. OF. EVERY. SINGLE. RAFTER. As mentioned previous, this was death by hammer for me. Lots of bruised thumbs and almost falling off ladders. Those nails/clips are TOUGH because the purpose of these things are to hold the roof structure down to the walls. This will not only help with uplift during our travels, but also will help in the event of storms!

CAPTION: Attempting to look happy while nailing hurricane clips. Also, I'm not the only one... Brian smashes his fingers every once and a while too [below]!

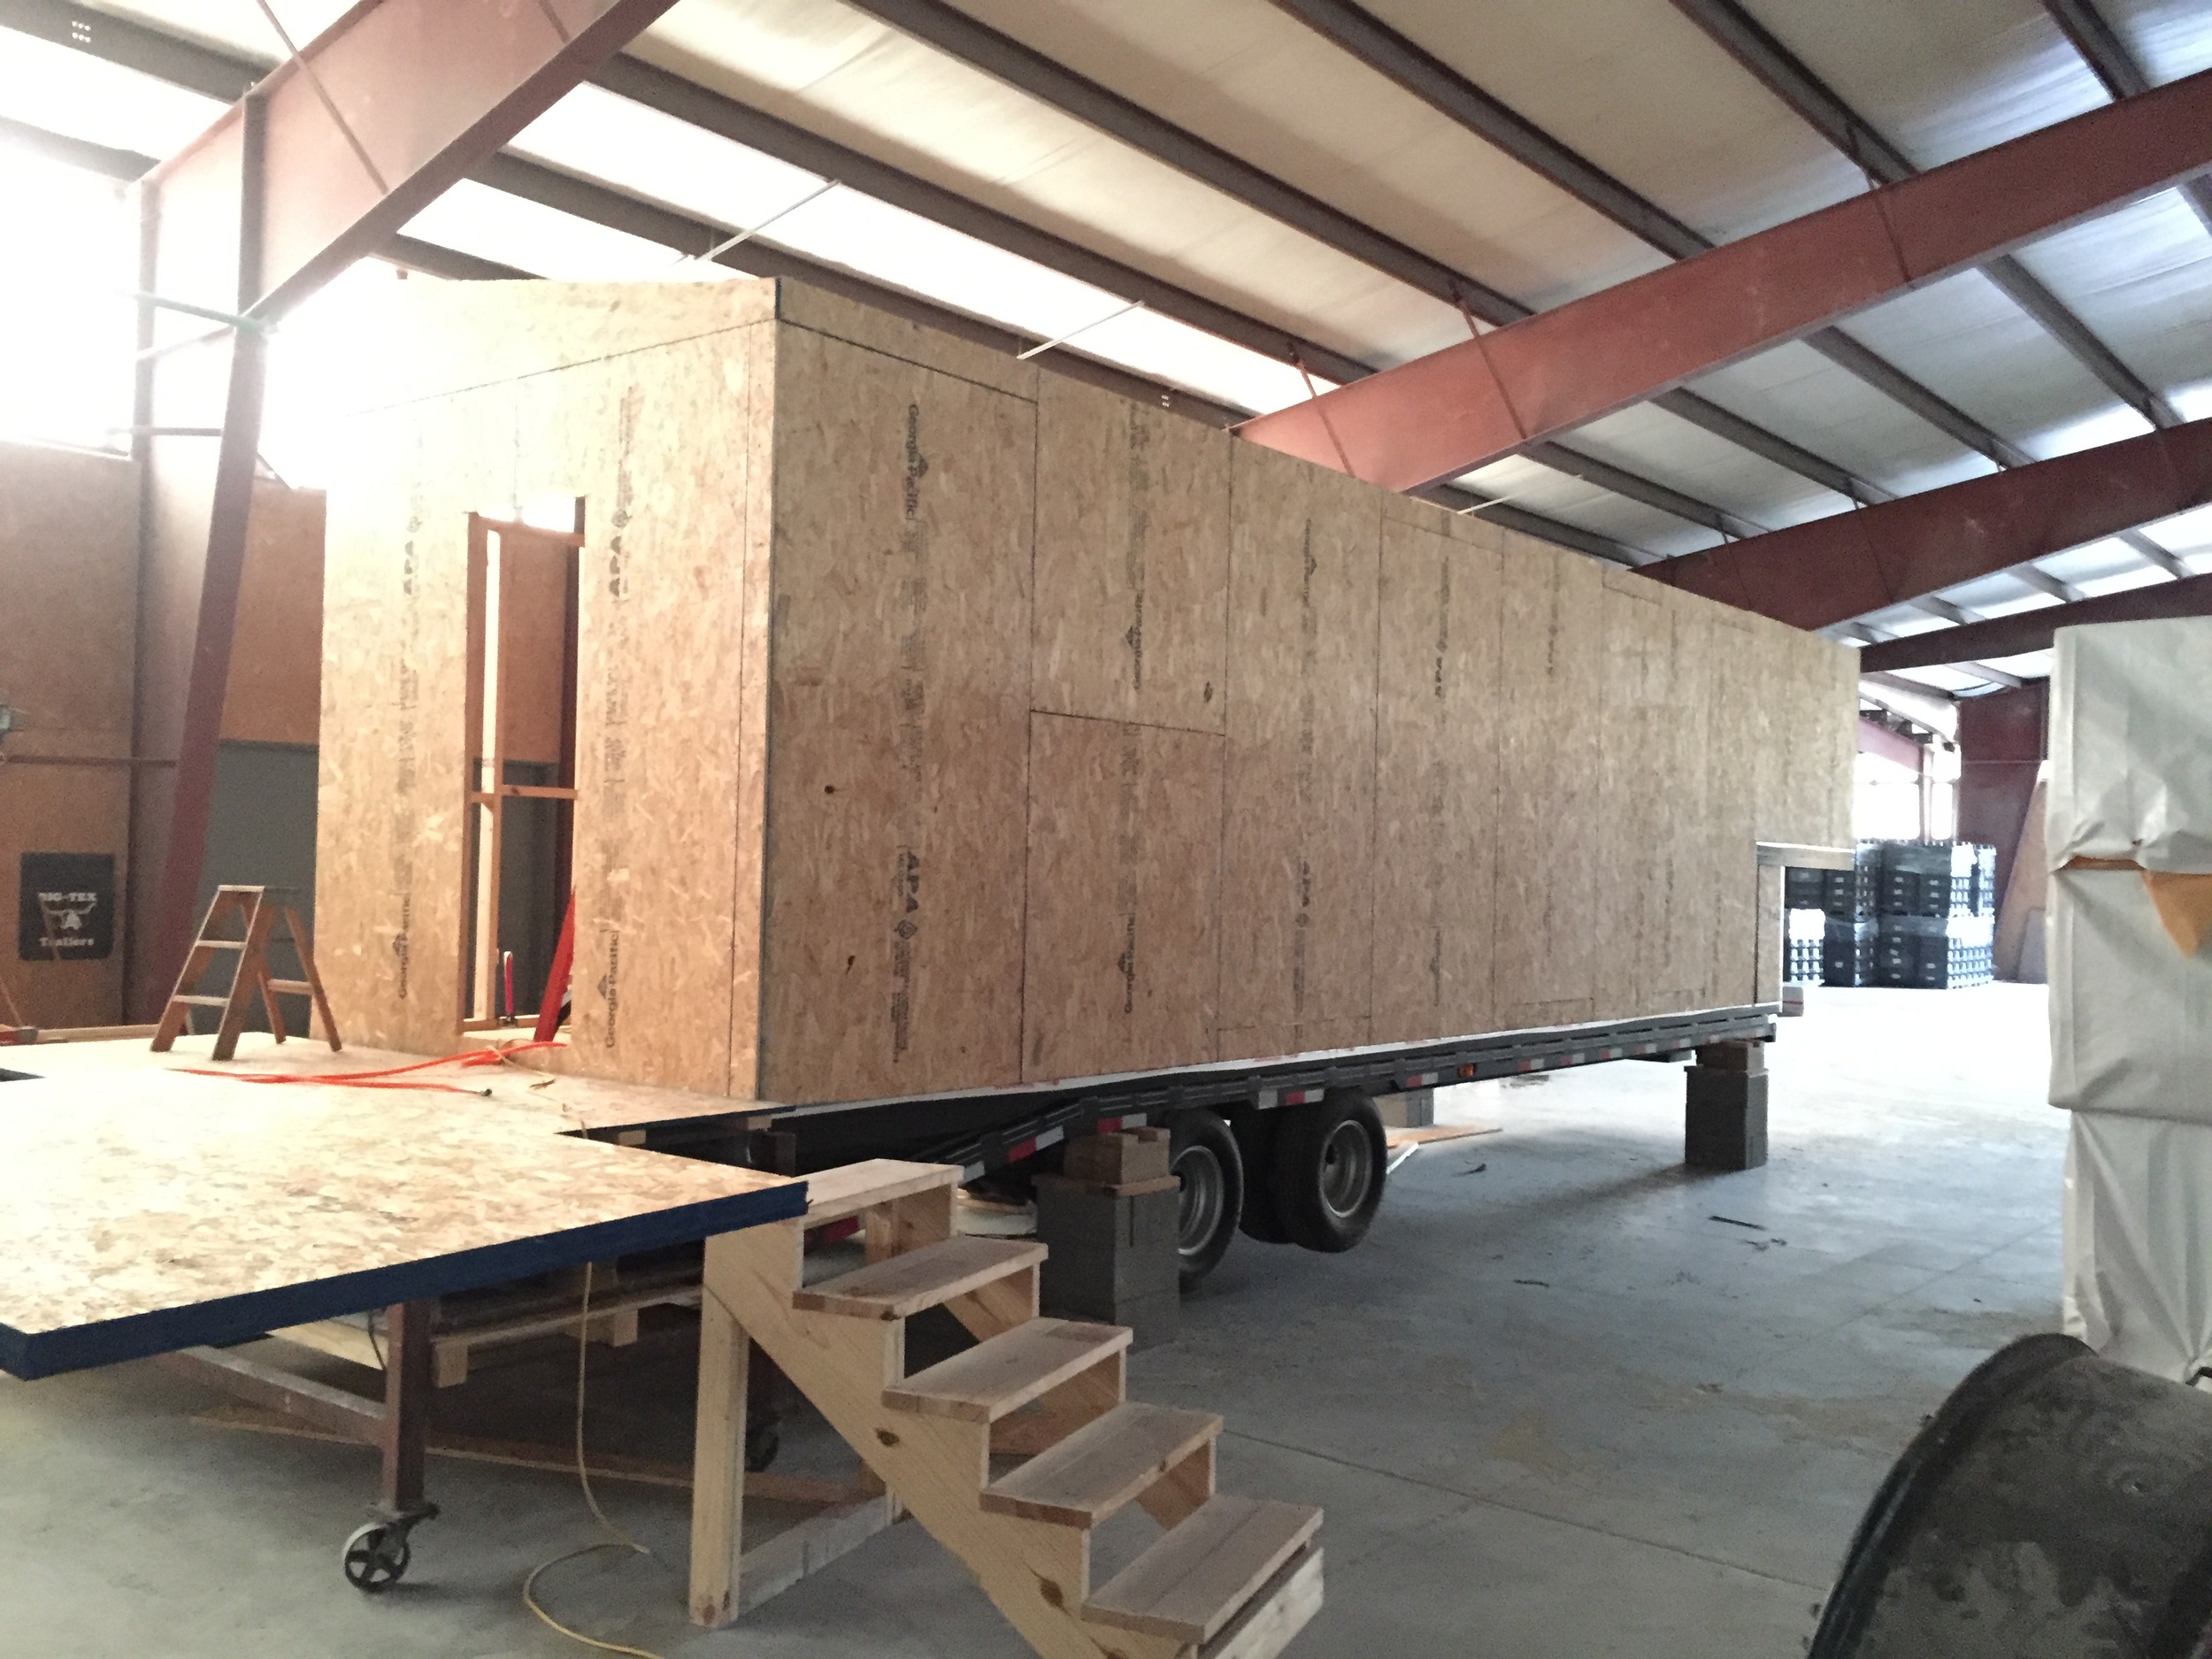
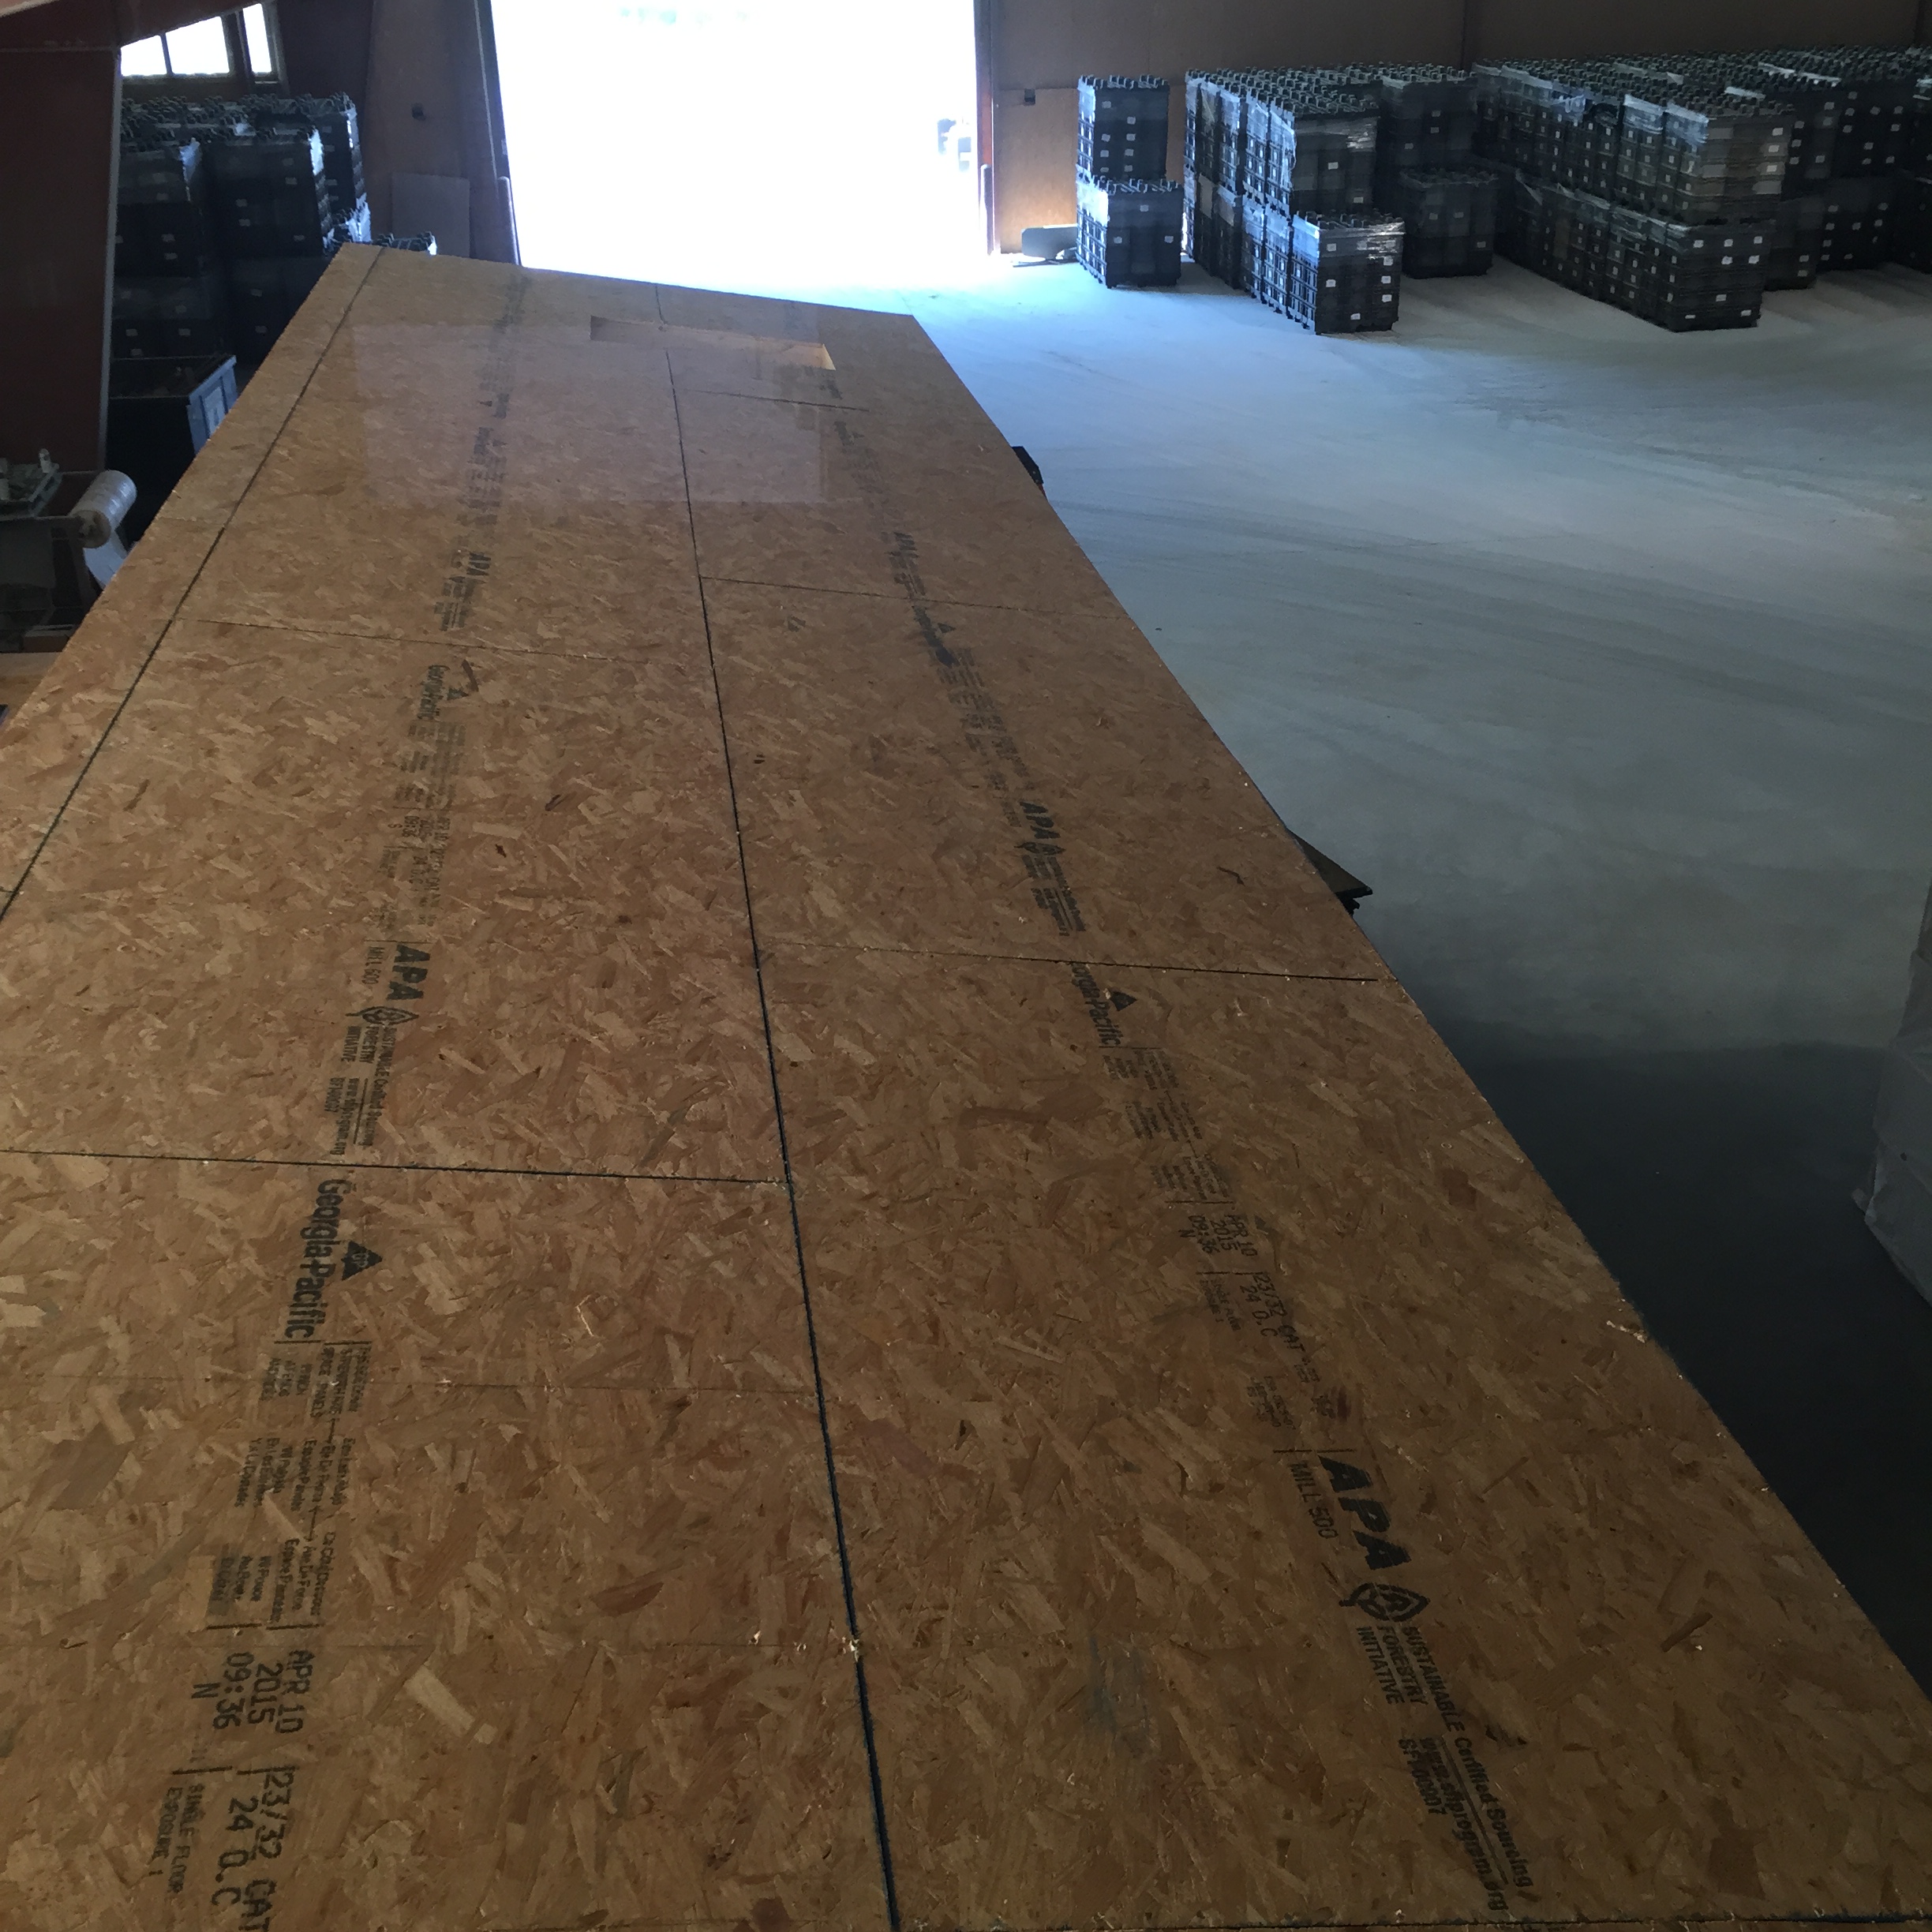
3. Roof Decking Install – This was basically the same process as the exterior sheathing install. Same size board. Same size nails. Same router (to cut on the skylight).
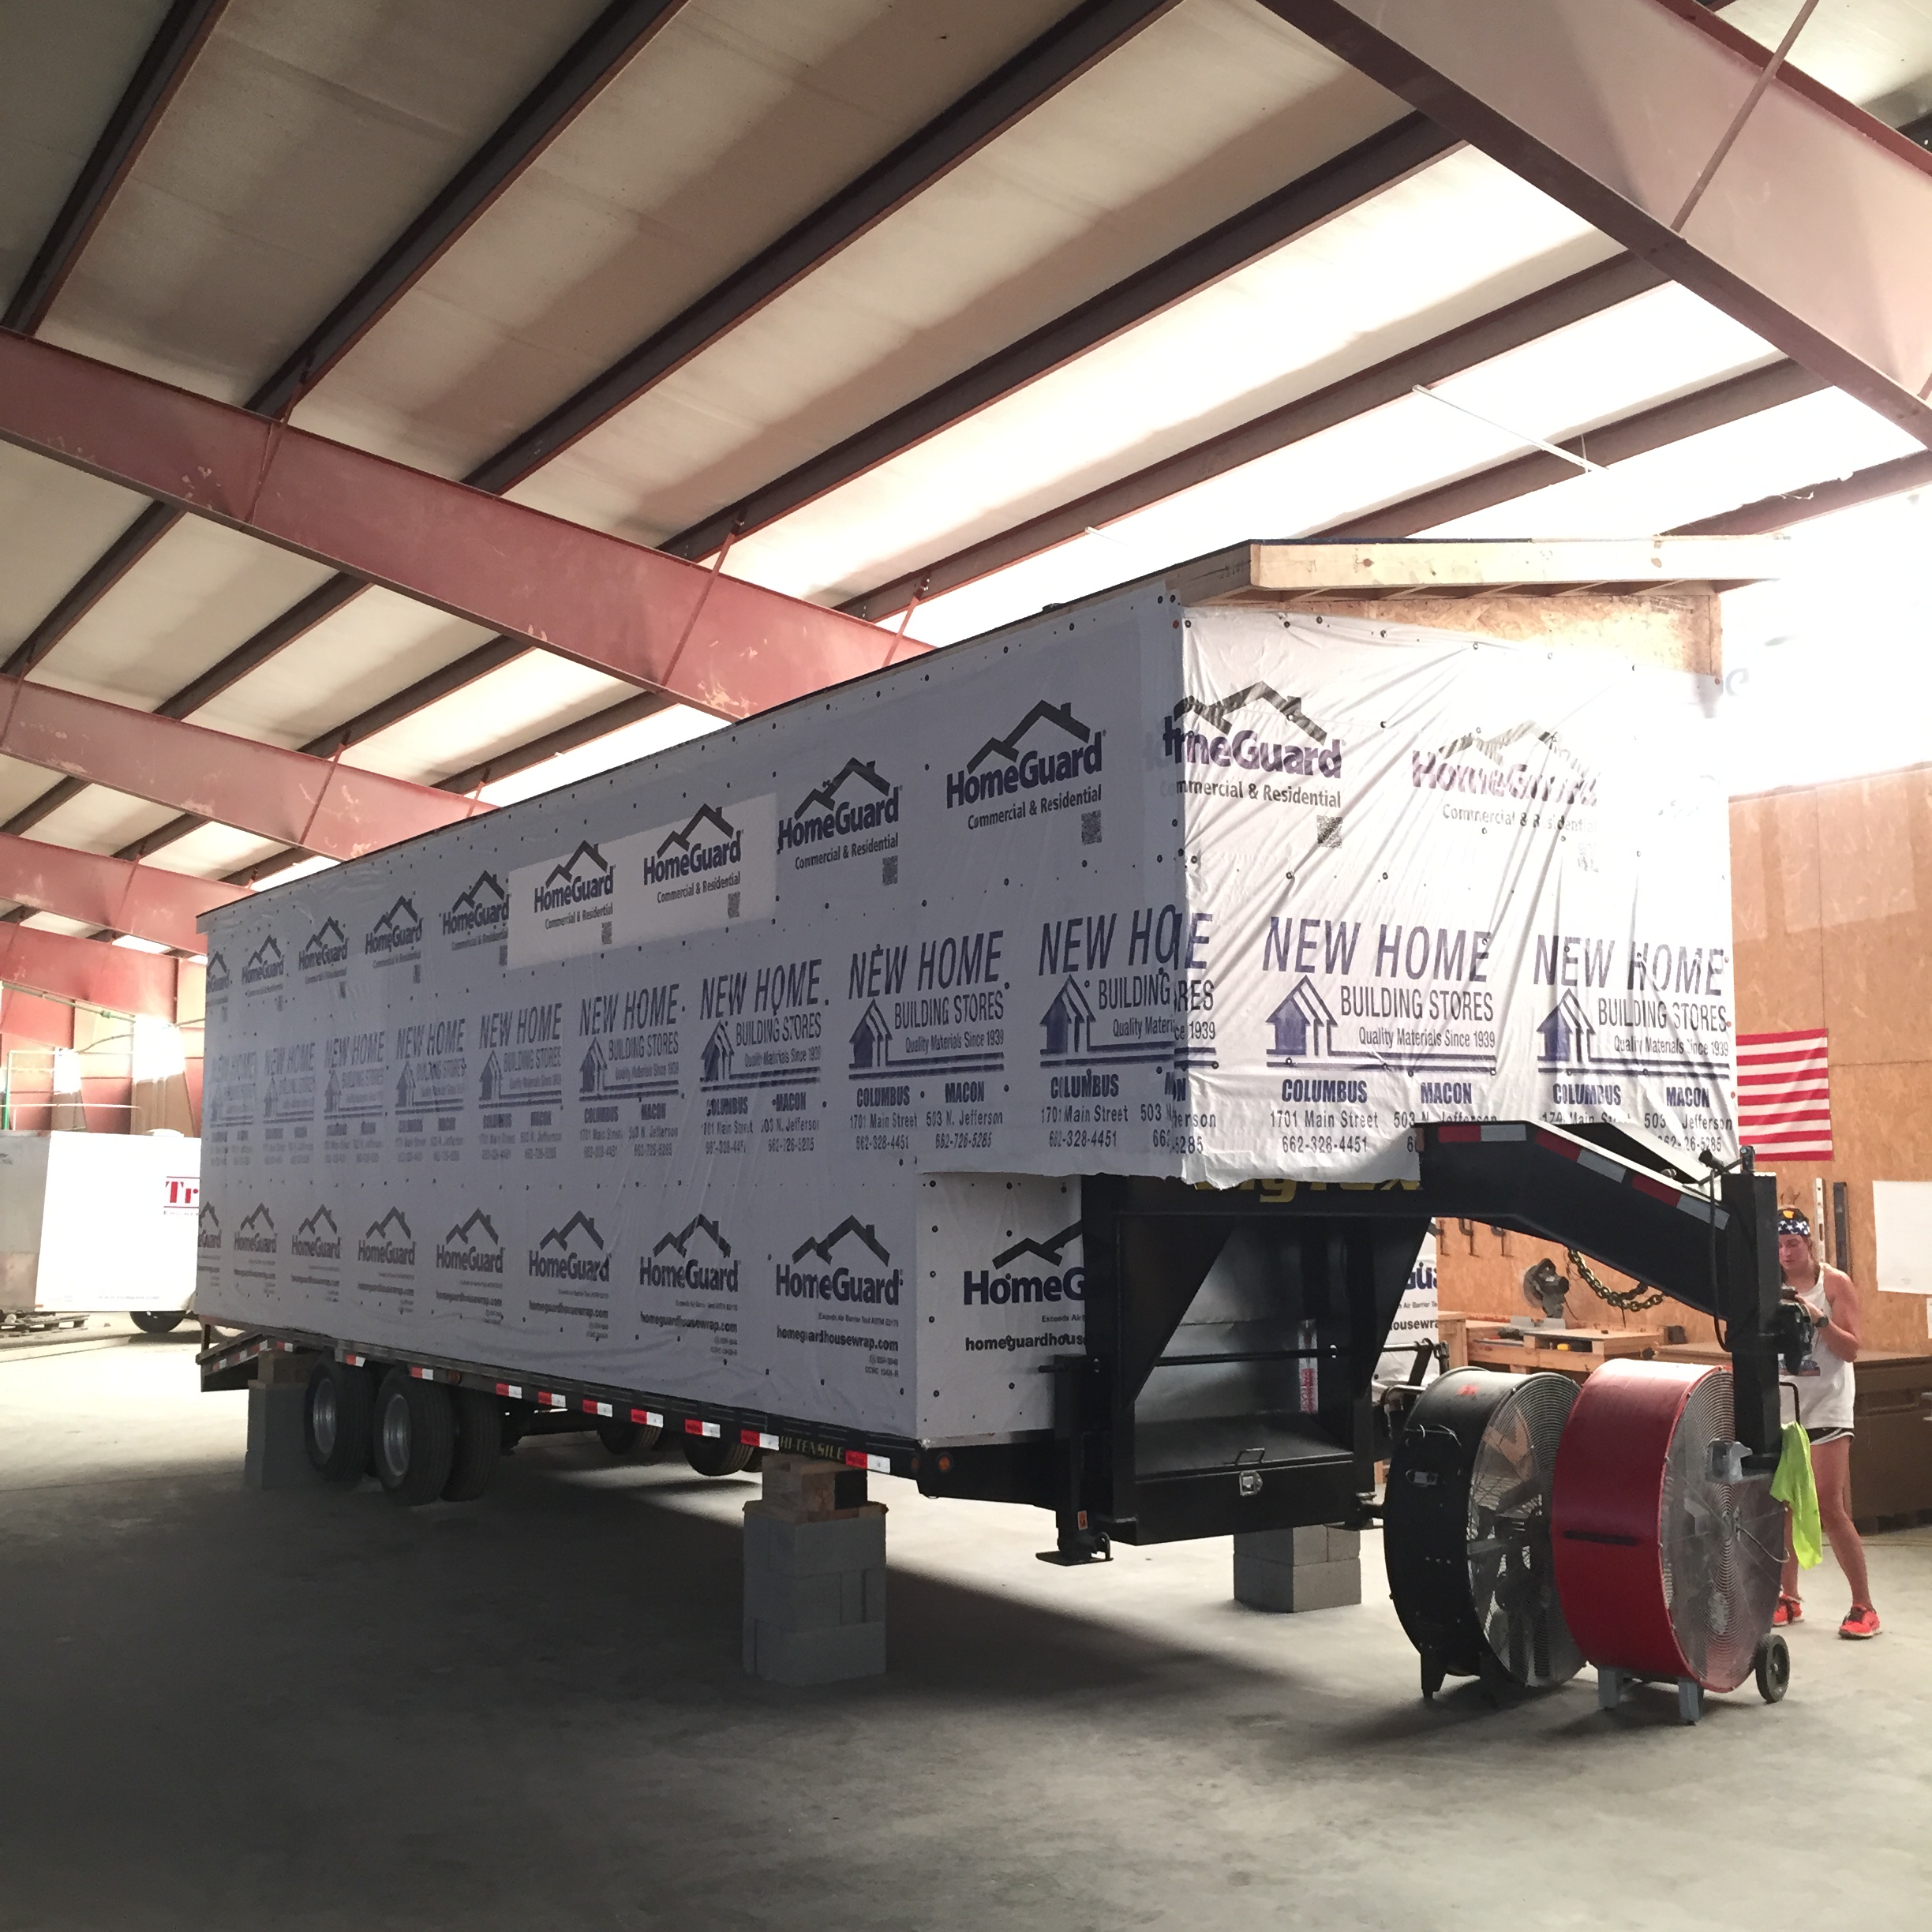
4. House Wrap Install – Big shout out here. This was all made possible because of the help our dear friend, John Scarborough, came into town to help out. This was huge! Thanks, dude! We purchased 150’ of 9’ tall house wrap. Using the baker’s scaffold again, we worked our way around the house (covering all of the openings again) and nailed 1” cap nails spaced 16” O.C. (hitting the studs) spaced 12” vertically. Any seams that we had, we used house wrap tape. When the house wrap needed to overlap, we used a 12” overlap. Check out the video on our Instagram for more details!


PROGRESS PHOTOS!
And! Here are some progress photos. Please note, you may see more than was written about in this post. I’m trying to catch up! We are actually done with in-wall rough-in for plumbing and electrical. That post will happen over the next several days, so stay tuned… it’s any interesting one!